The Doors of Durin, Lord of Moria. Speak, friend, and enter. I, Narvi, made them. Celebrimbor of Hollin drew these signs.
—Gandalf
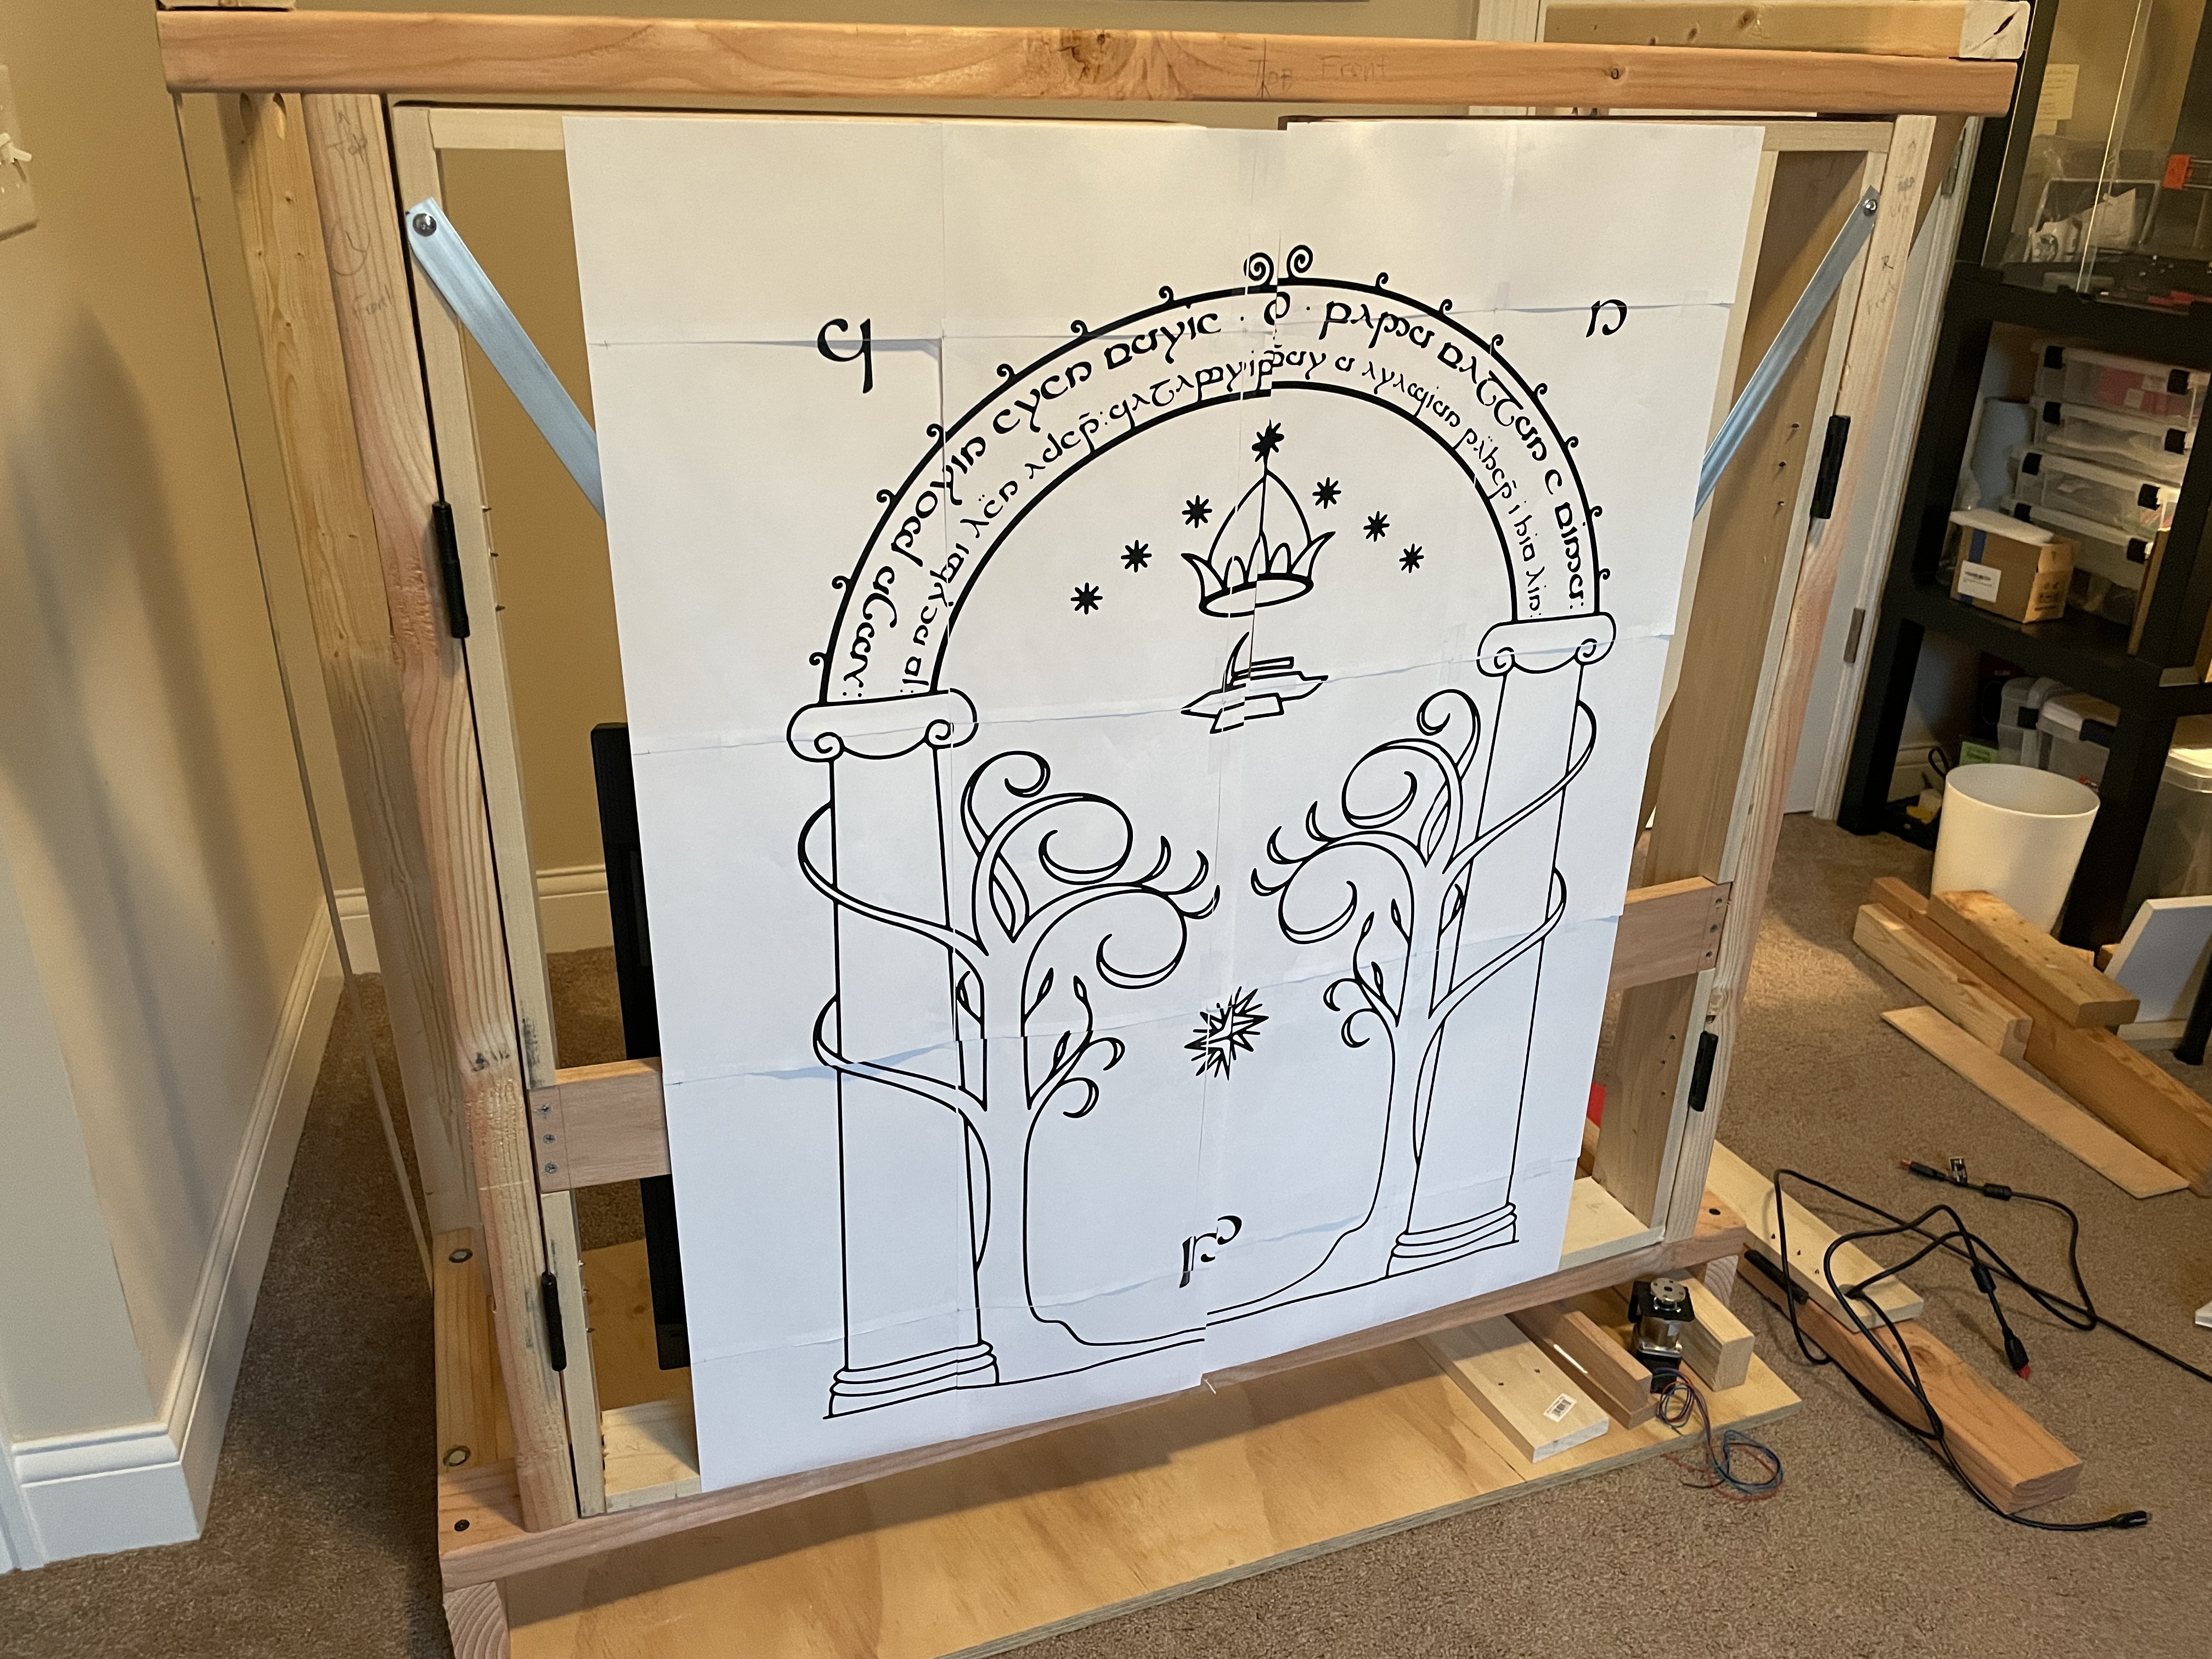
I love the Lord of the Rings books by J.R.R. Tolkien’s and movies directed by Peter Jackson. One of my favorite parts is when The Fellowship are trying to allude the wizard Suruman by travelling through the Mines of Moria. To enter the mines unseen, they must pass through a hidden entrance to the mines; the Doors of Durin.

As I watched the Fellowship open the doors to the Mines of Moria on the big screen, I thought to myself that it would be cool to build something similar with my remote work station. I currently have 4 screens; a 34" wide main screen, a 40" TV/monitor, and two 24" monitors rotated vertically on the sides.
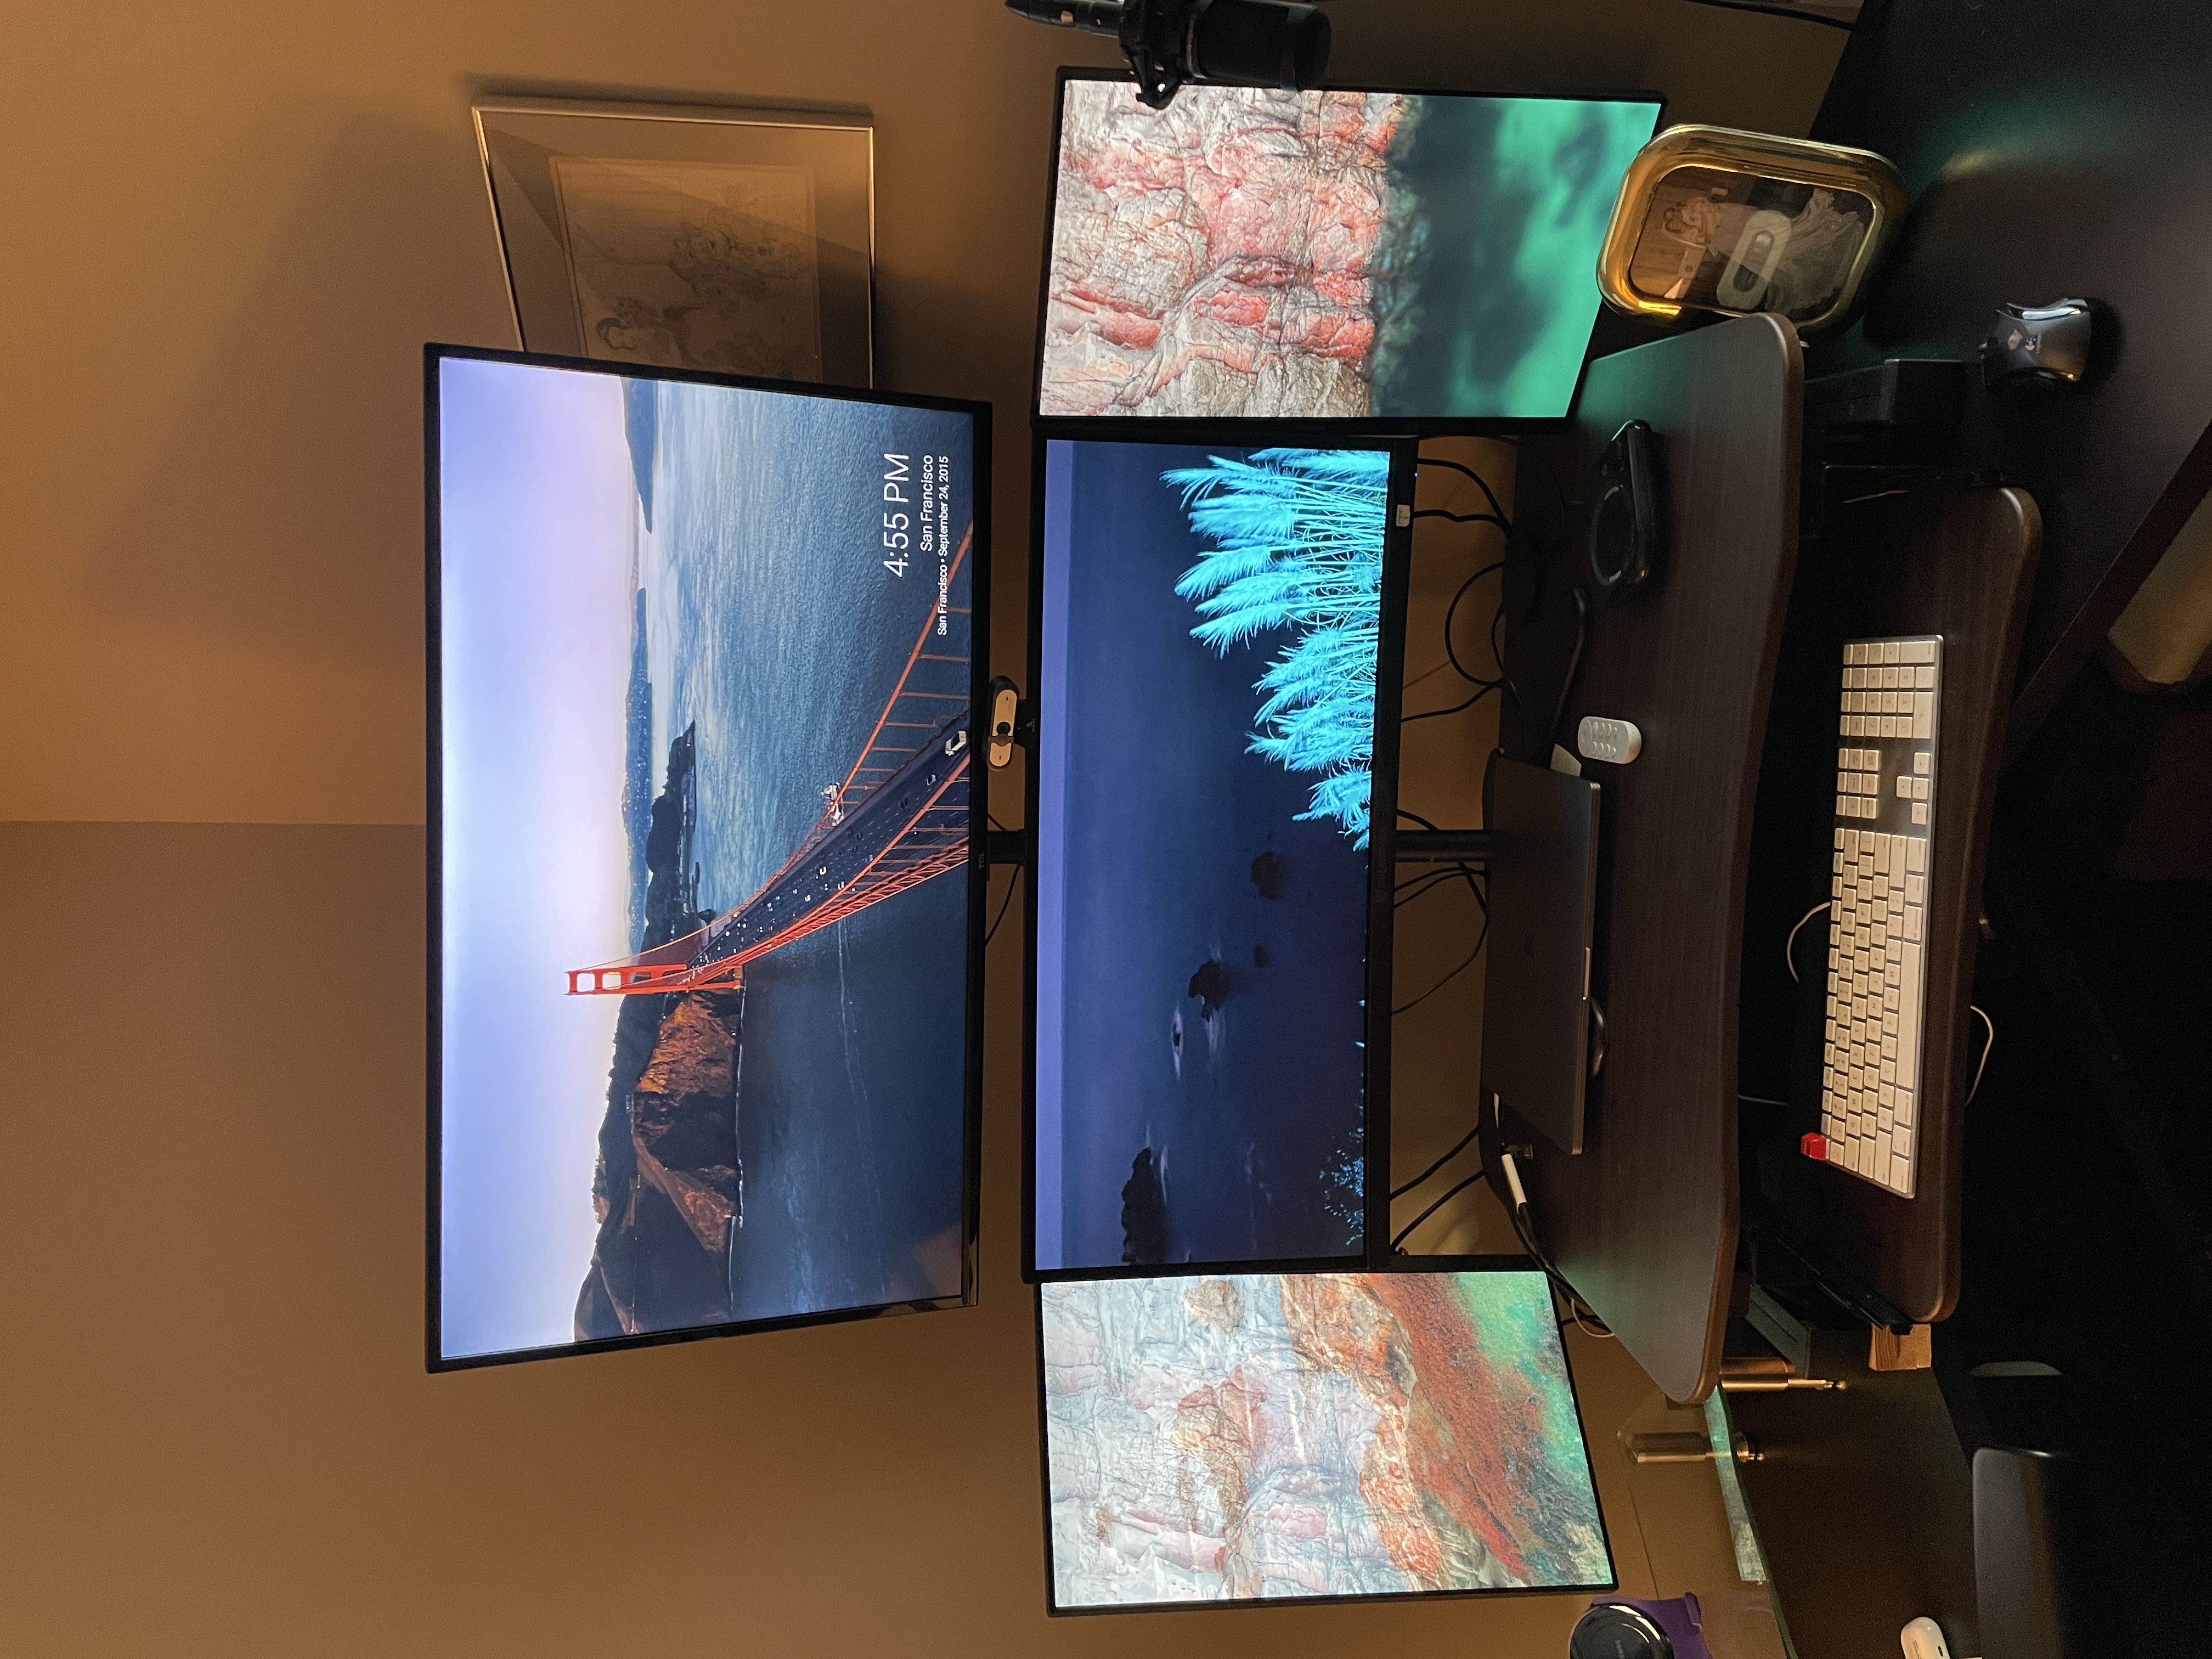
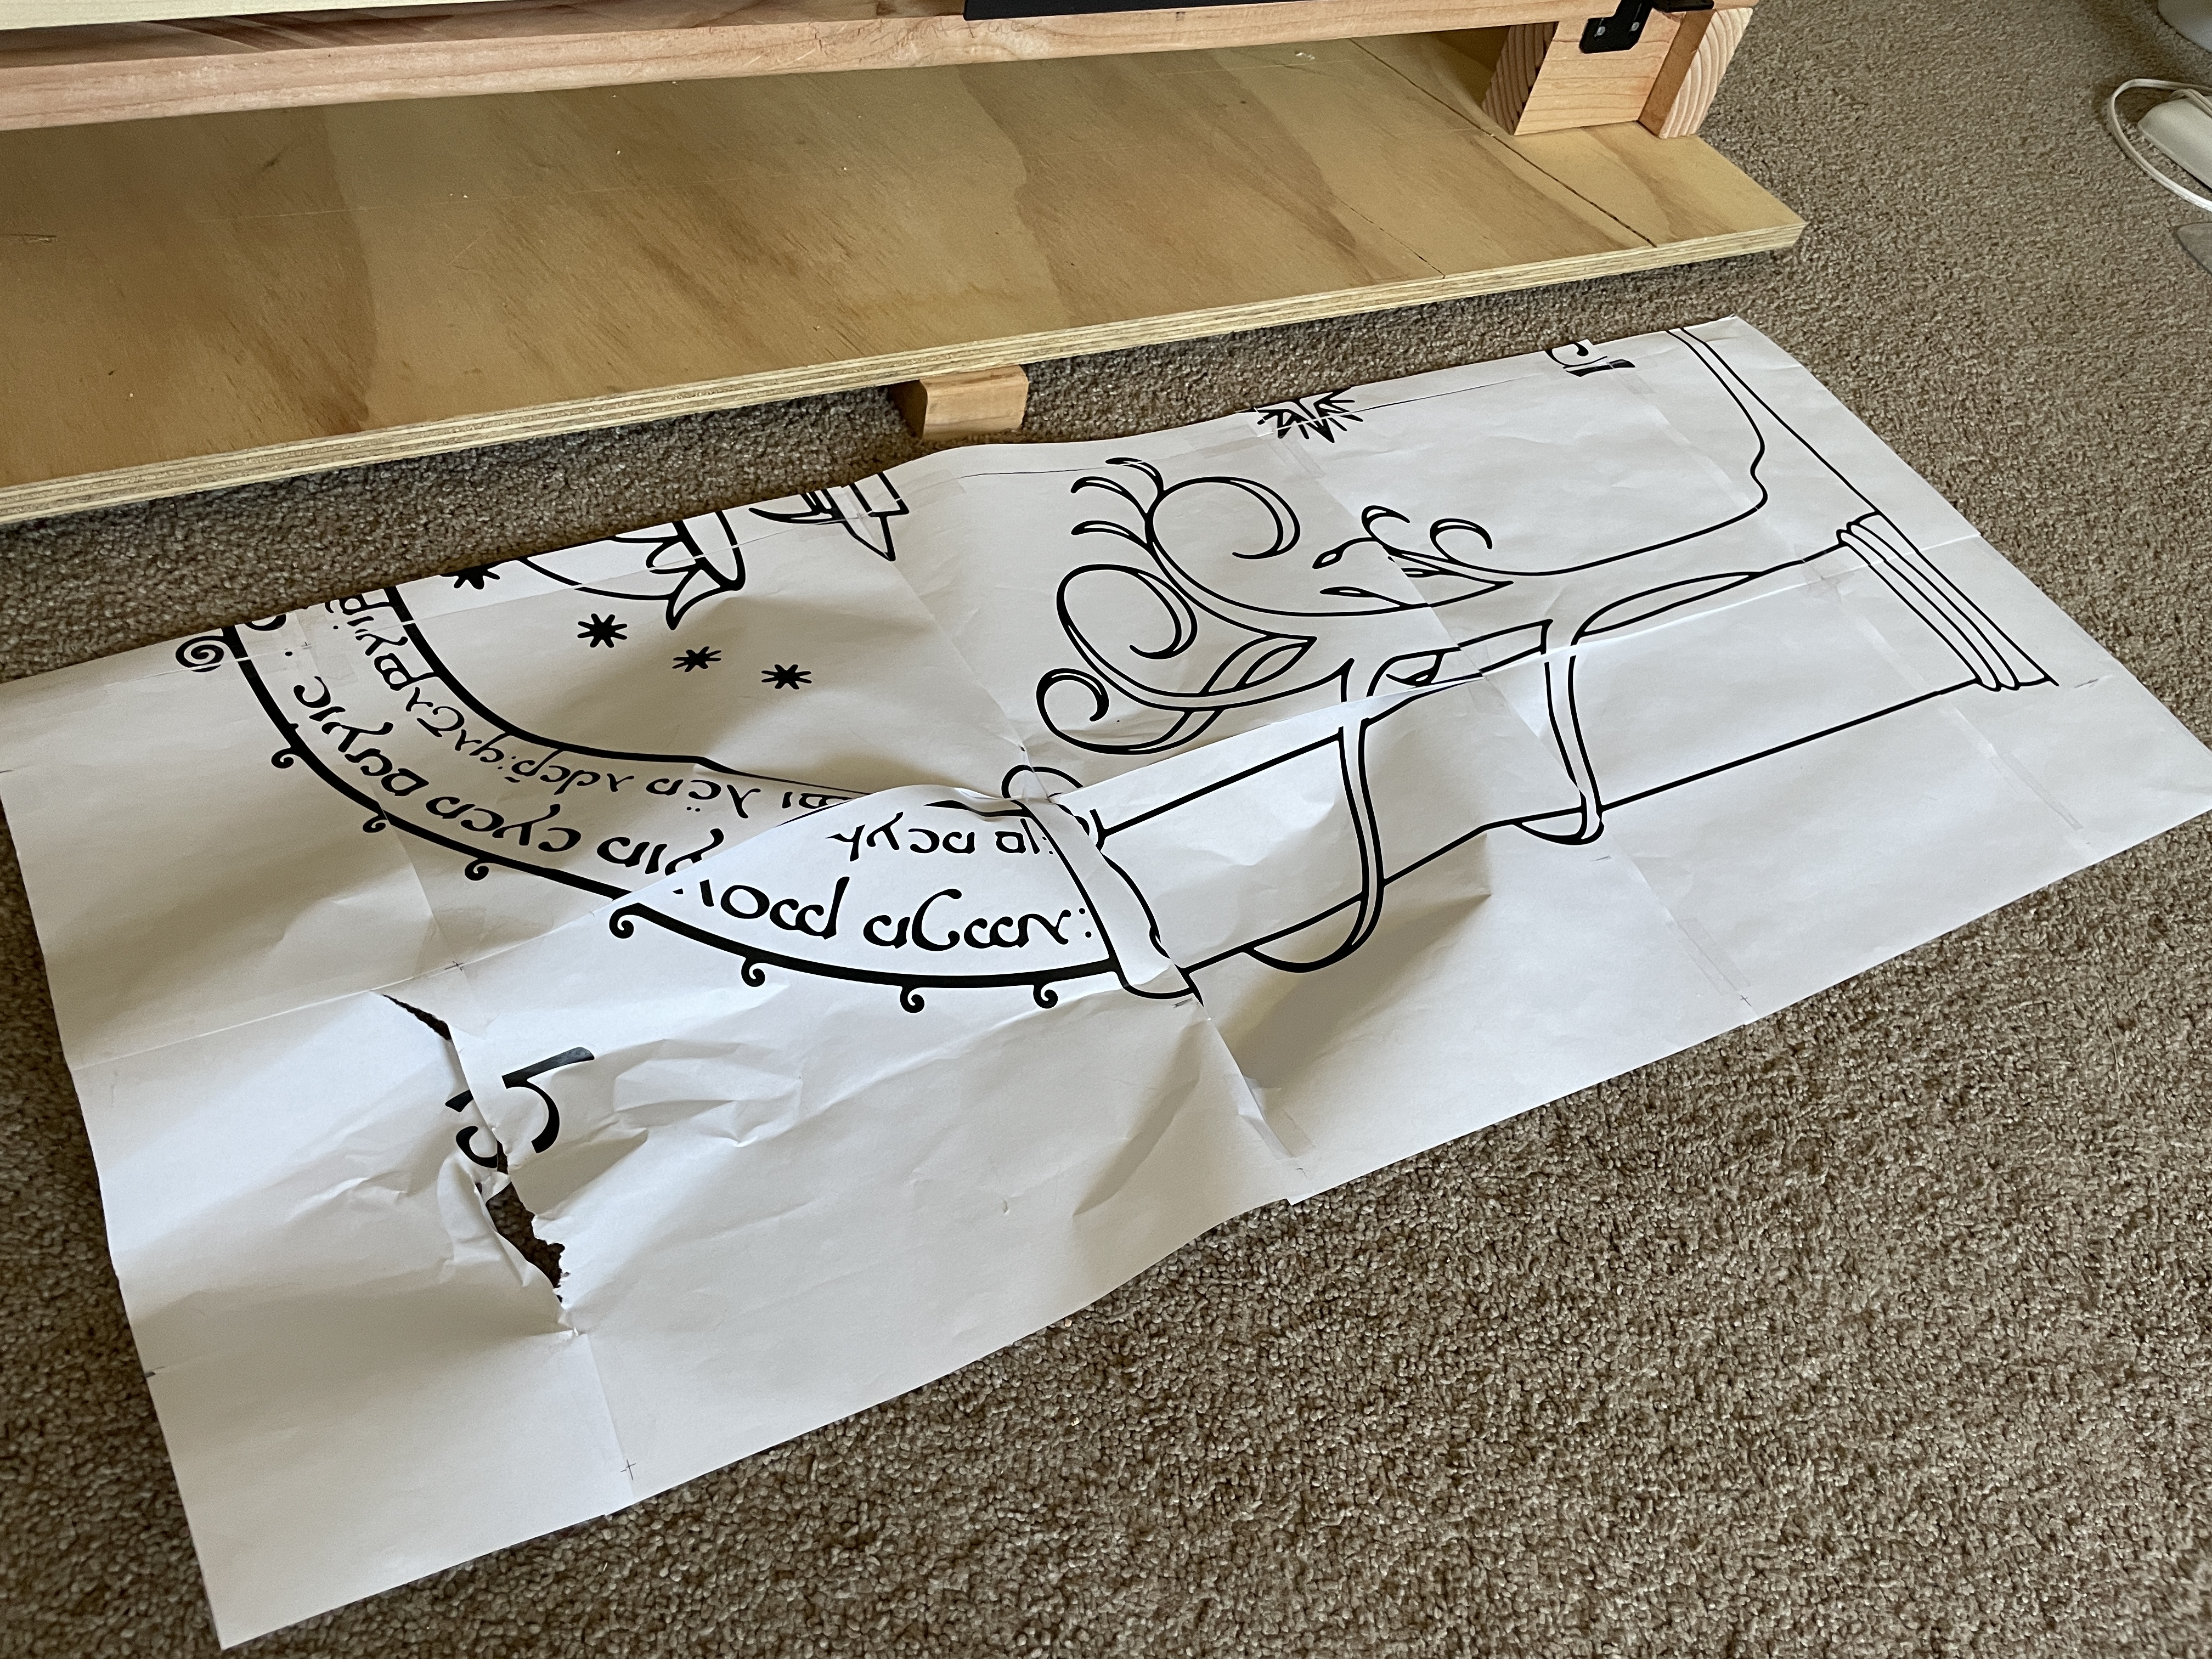
My idea is to duplicate the Doors of Durin with all my monitors hidden inside a fake rock face framed with two fake trees on each side. When the doors are closed, the rock face would glow from numerous LED neopixels revealing the door designand riddle. When you speak the answer to the riddle, two stepper motors mounted on the doors would engage and open the doors revealing the monitors inside. The vertical monitors will be mounted on the inside of the "doors".
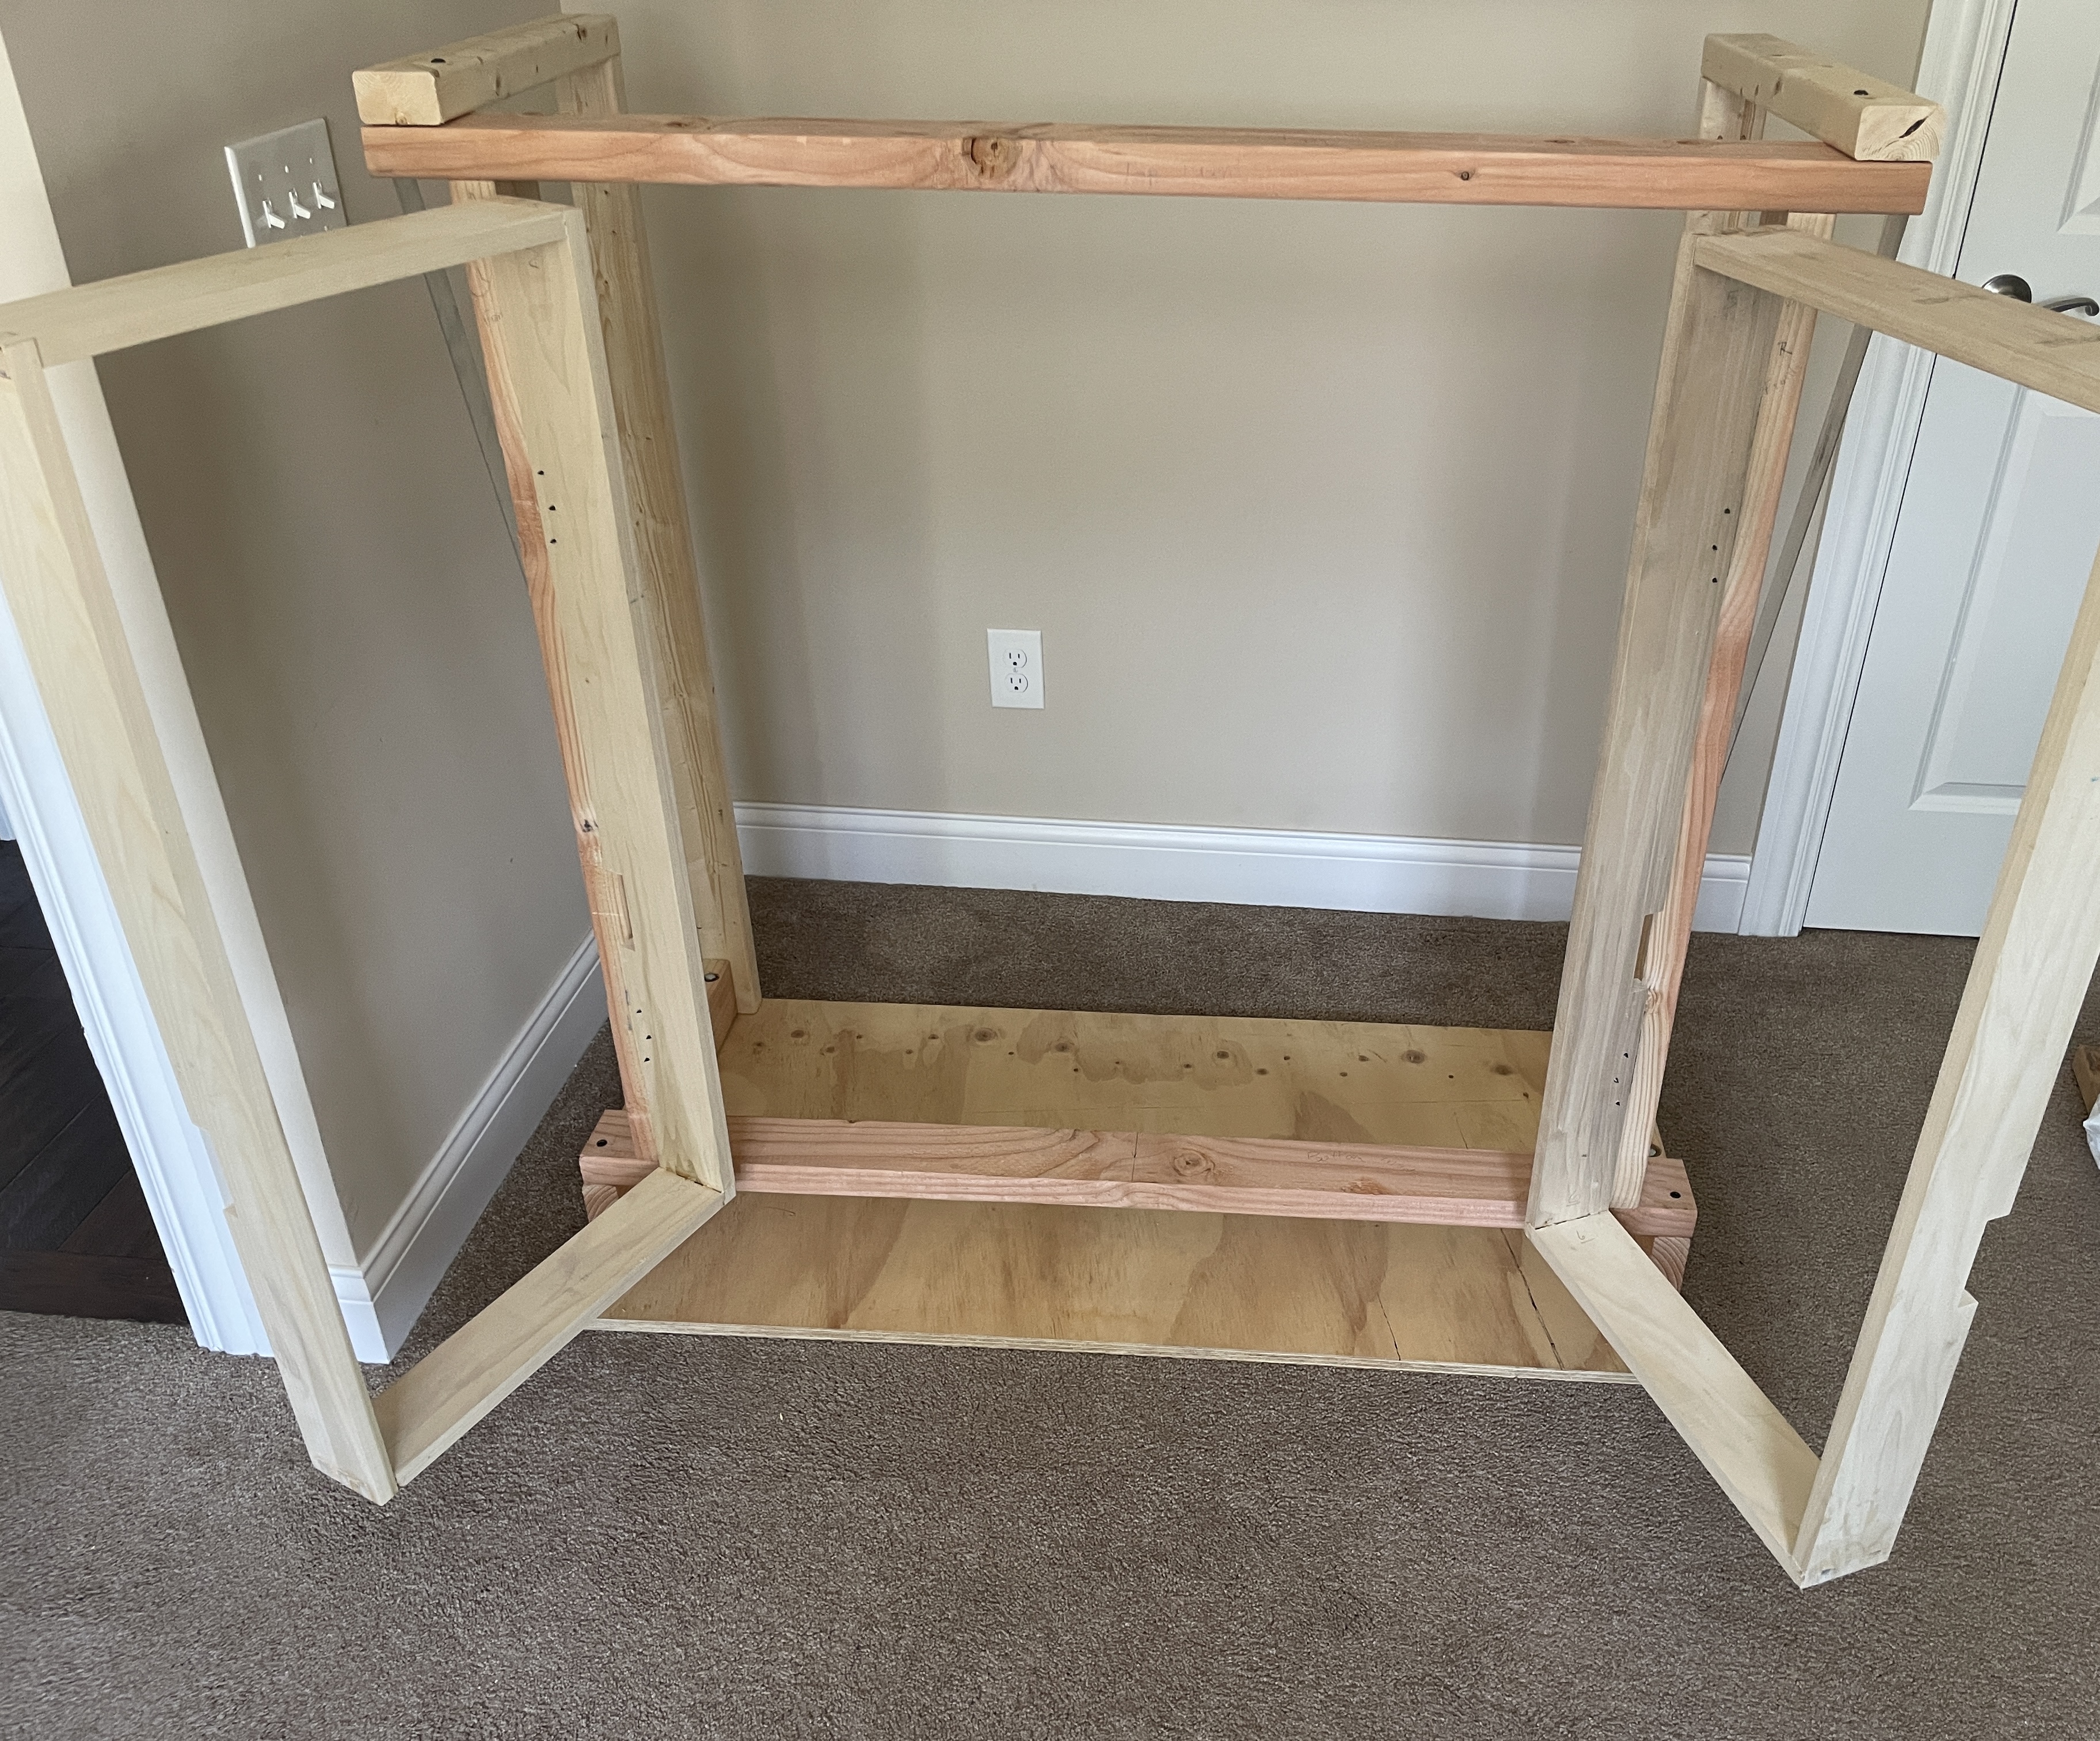
I began by building the door frames. Each door frame is 40" x 18".
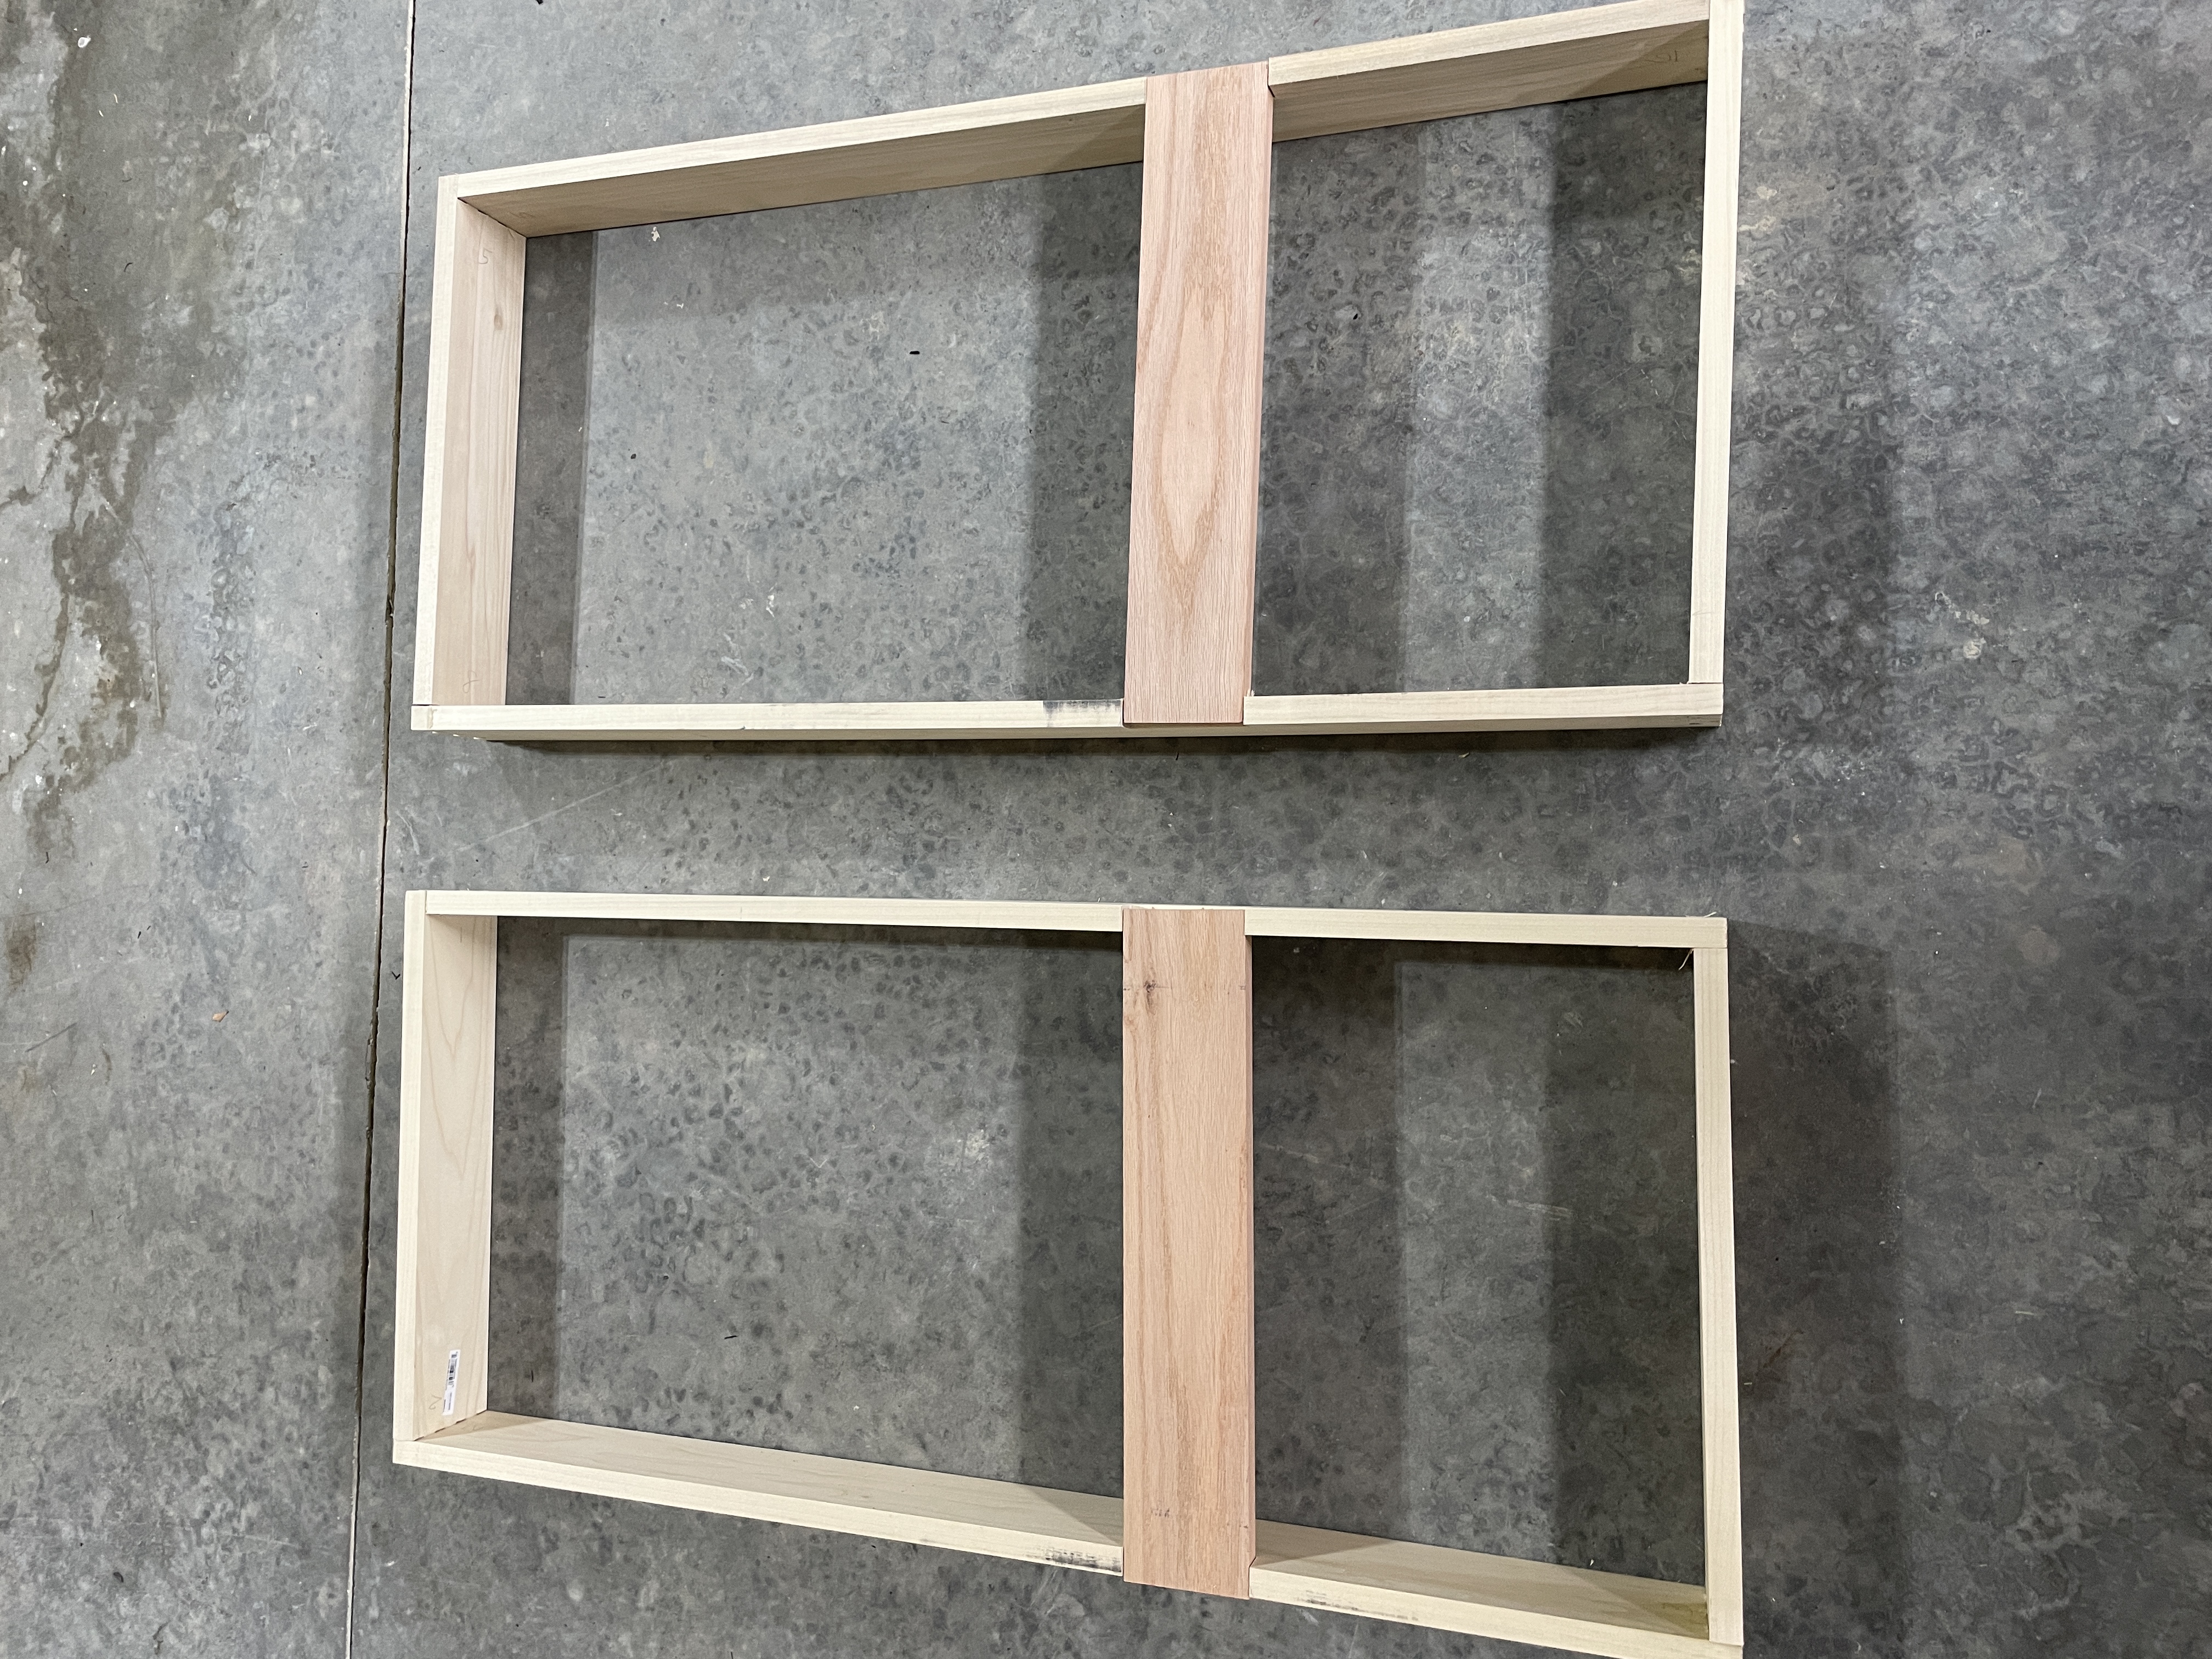
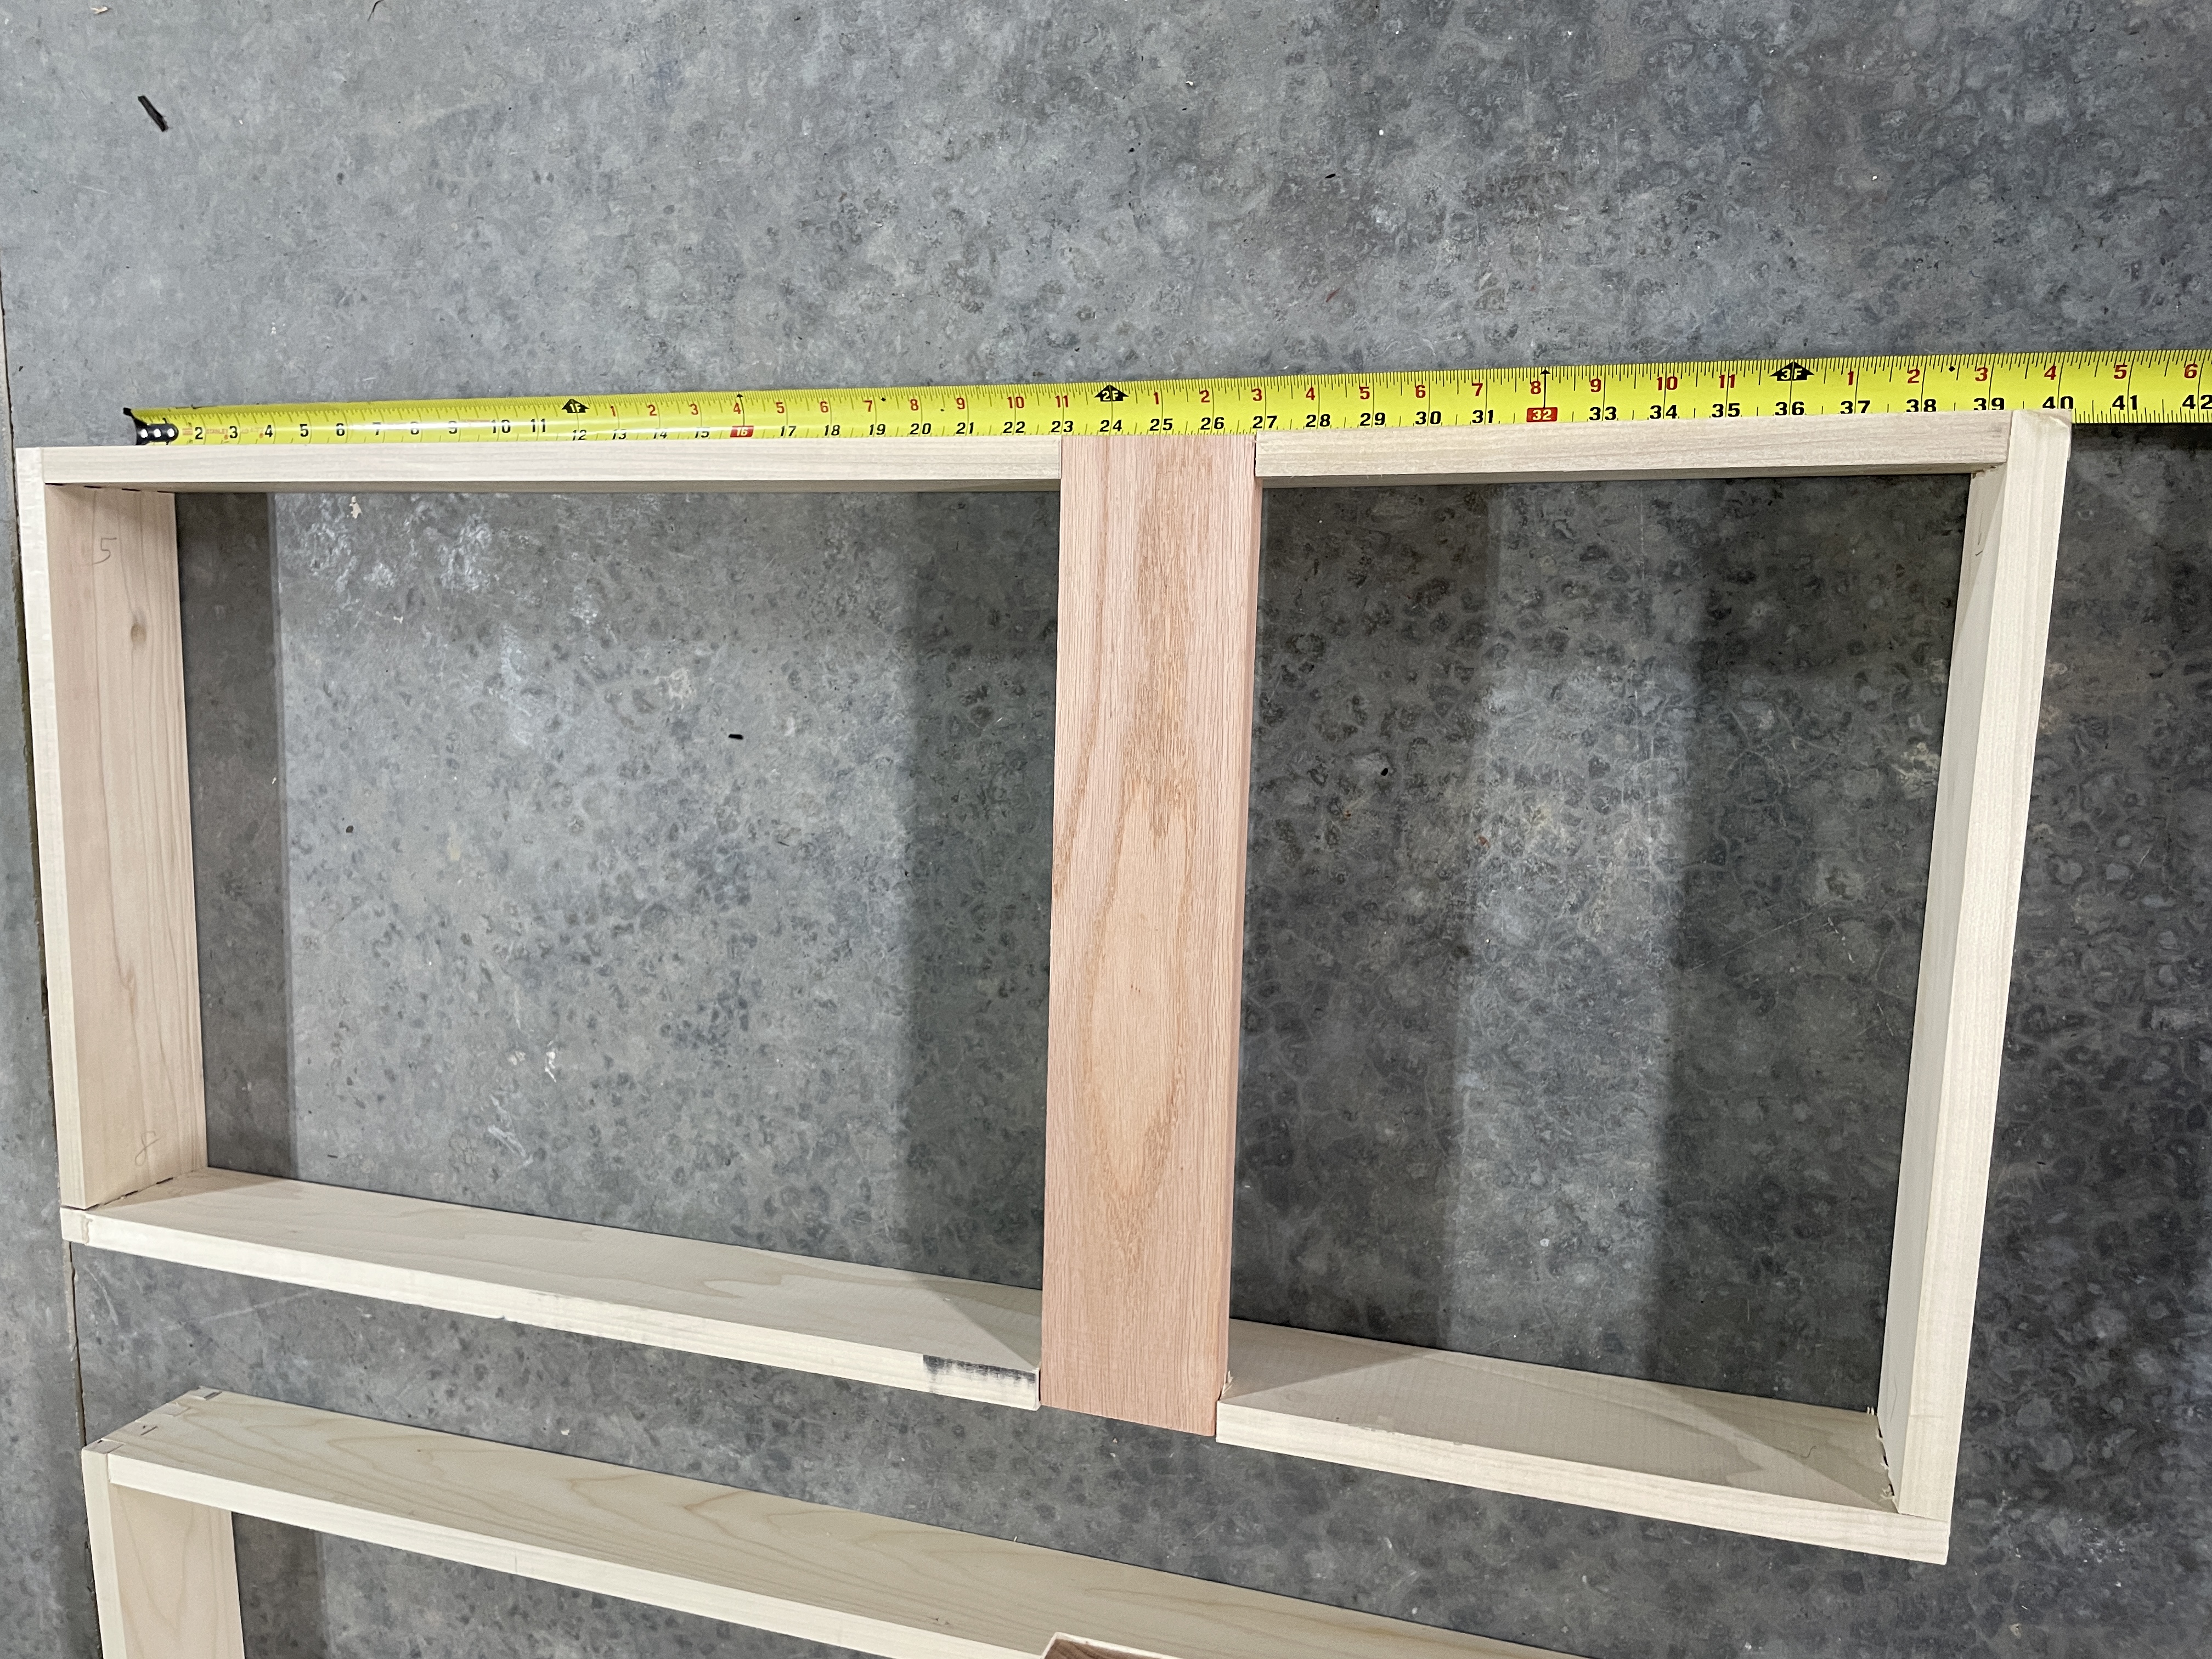
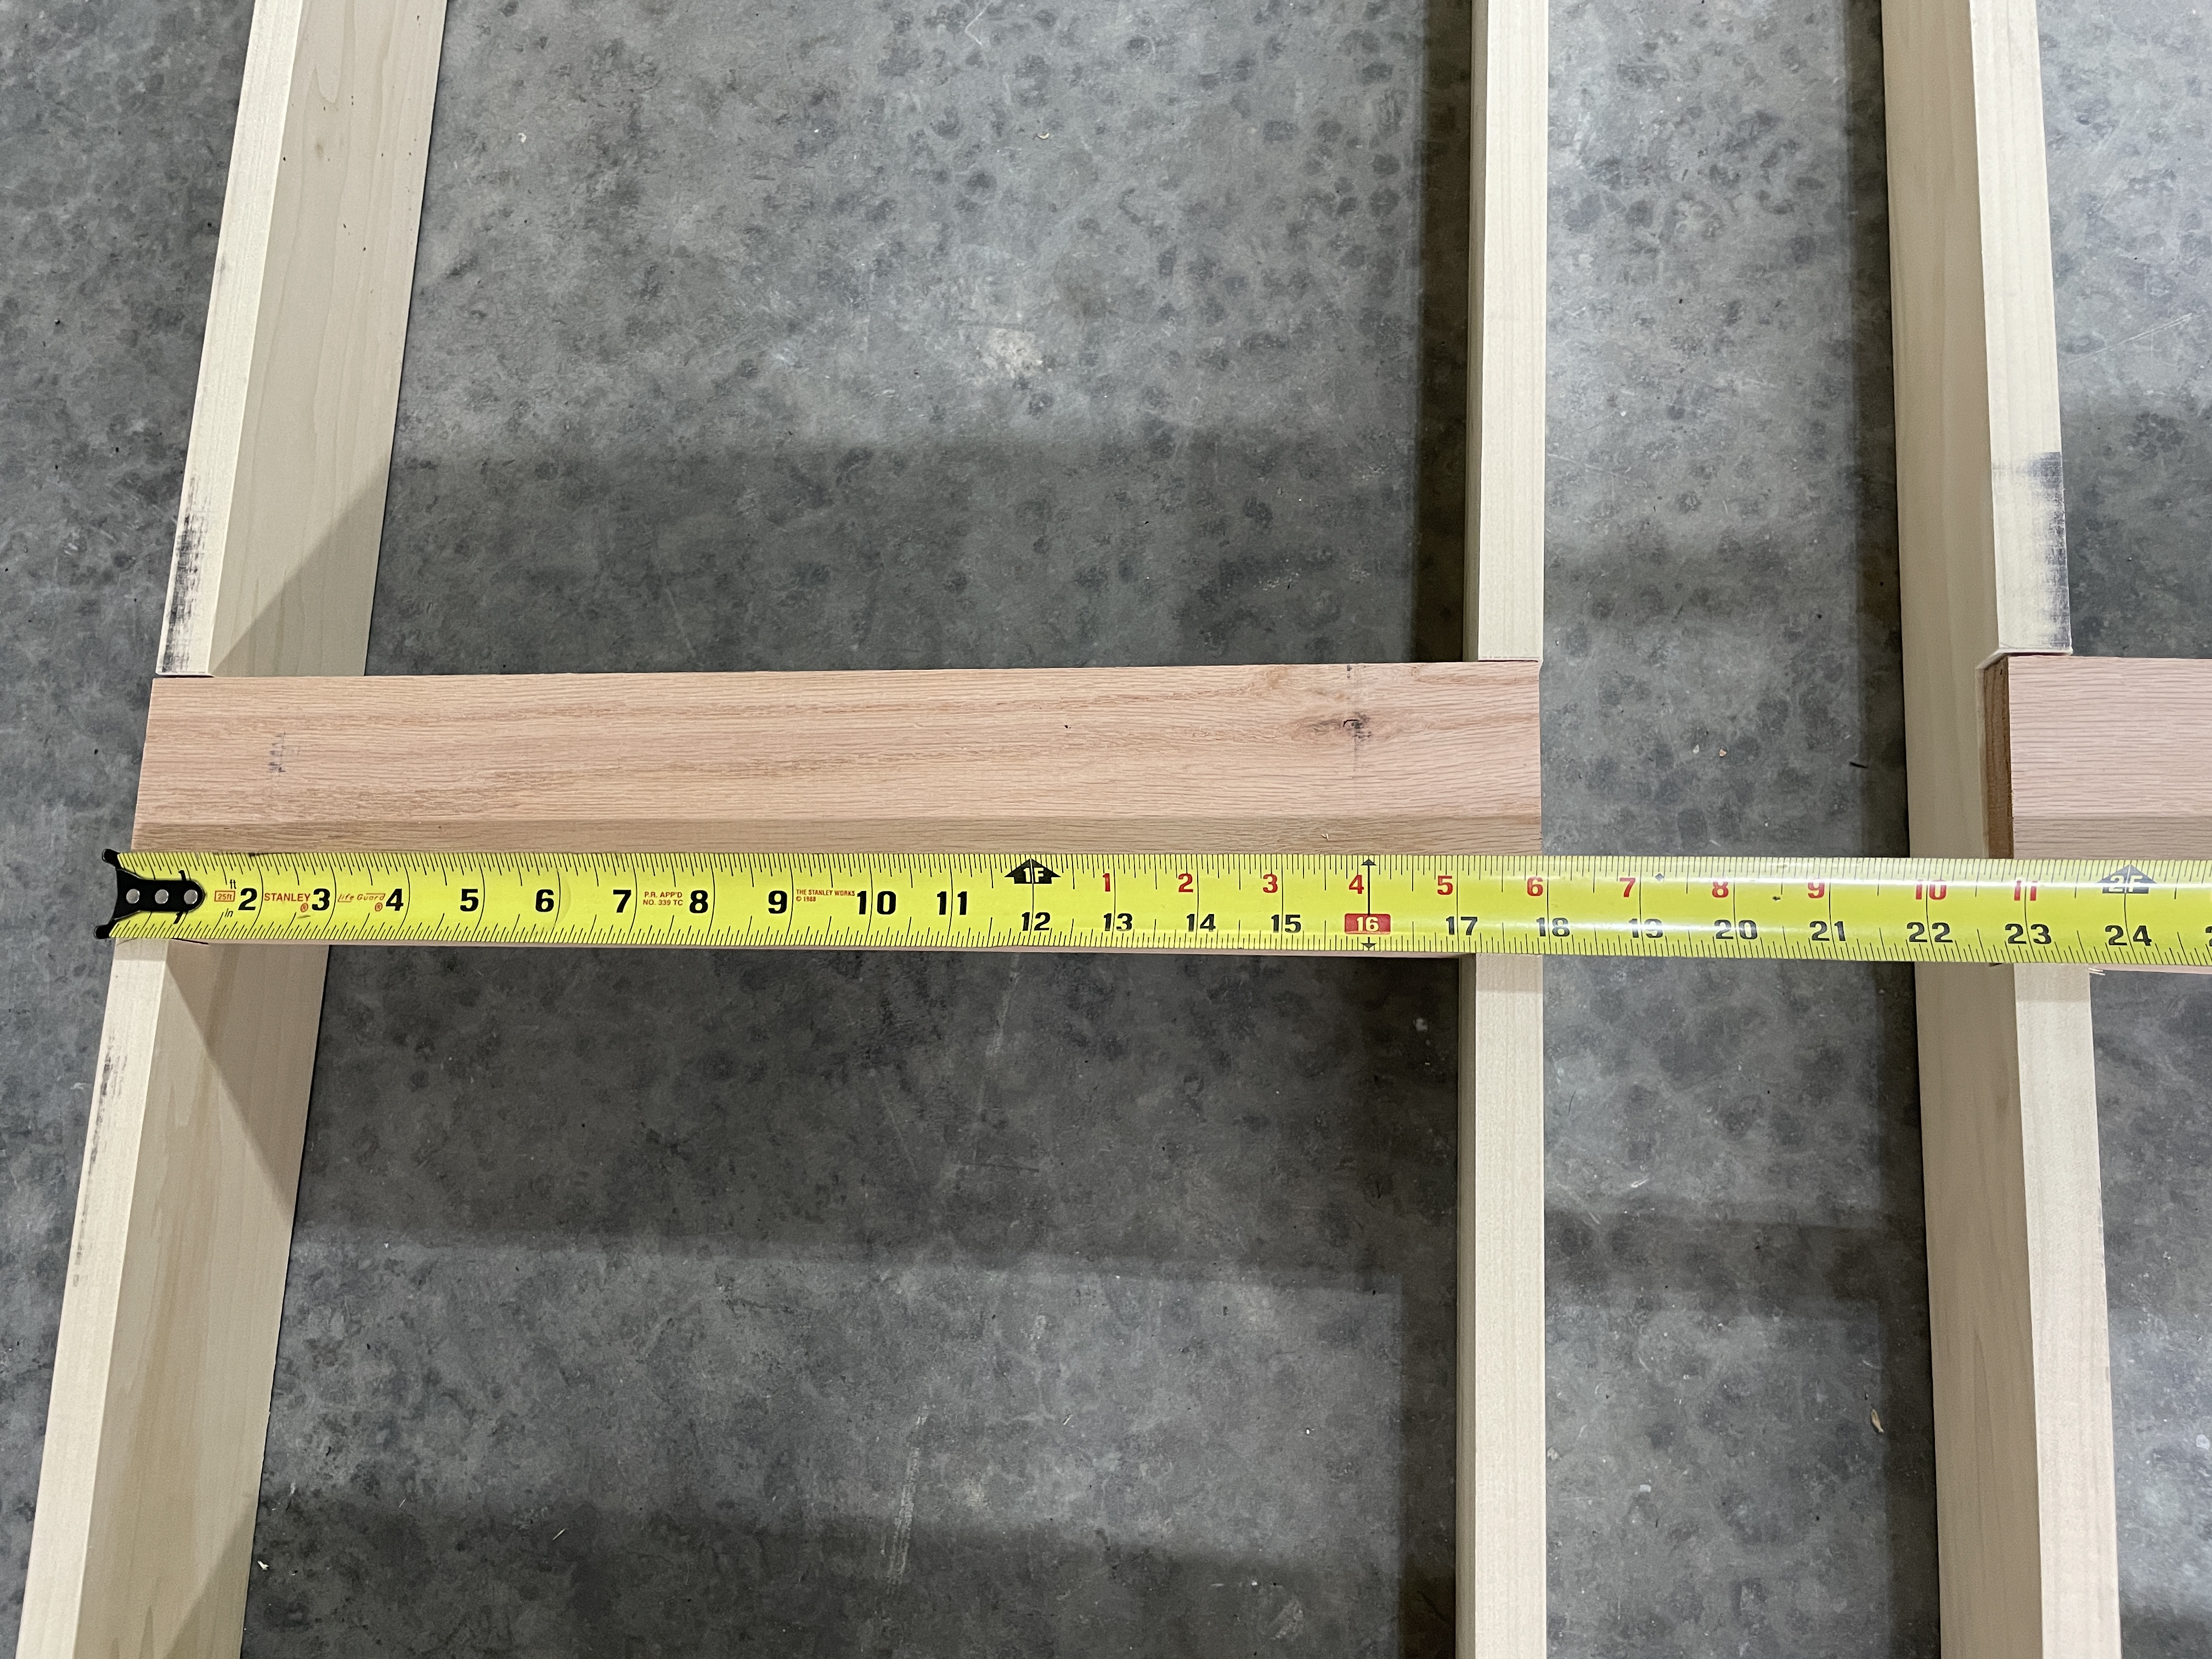
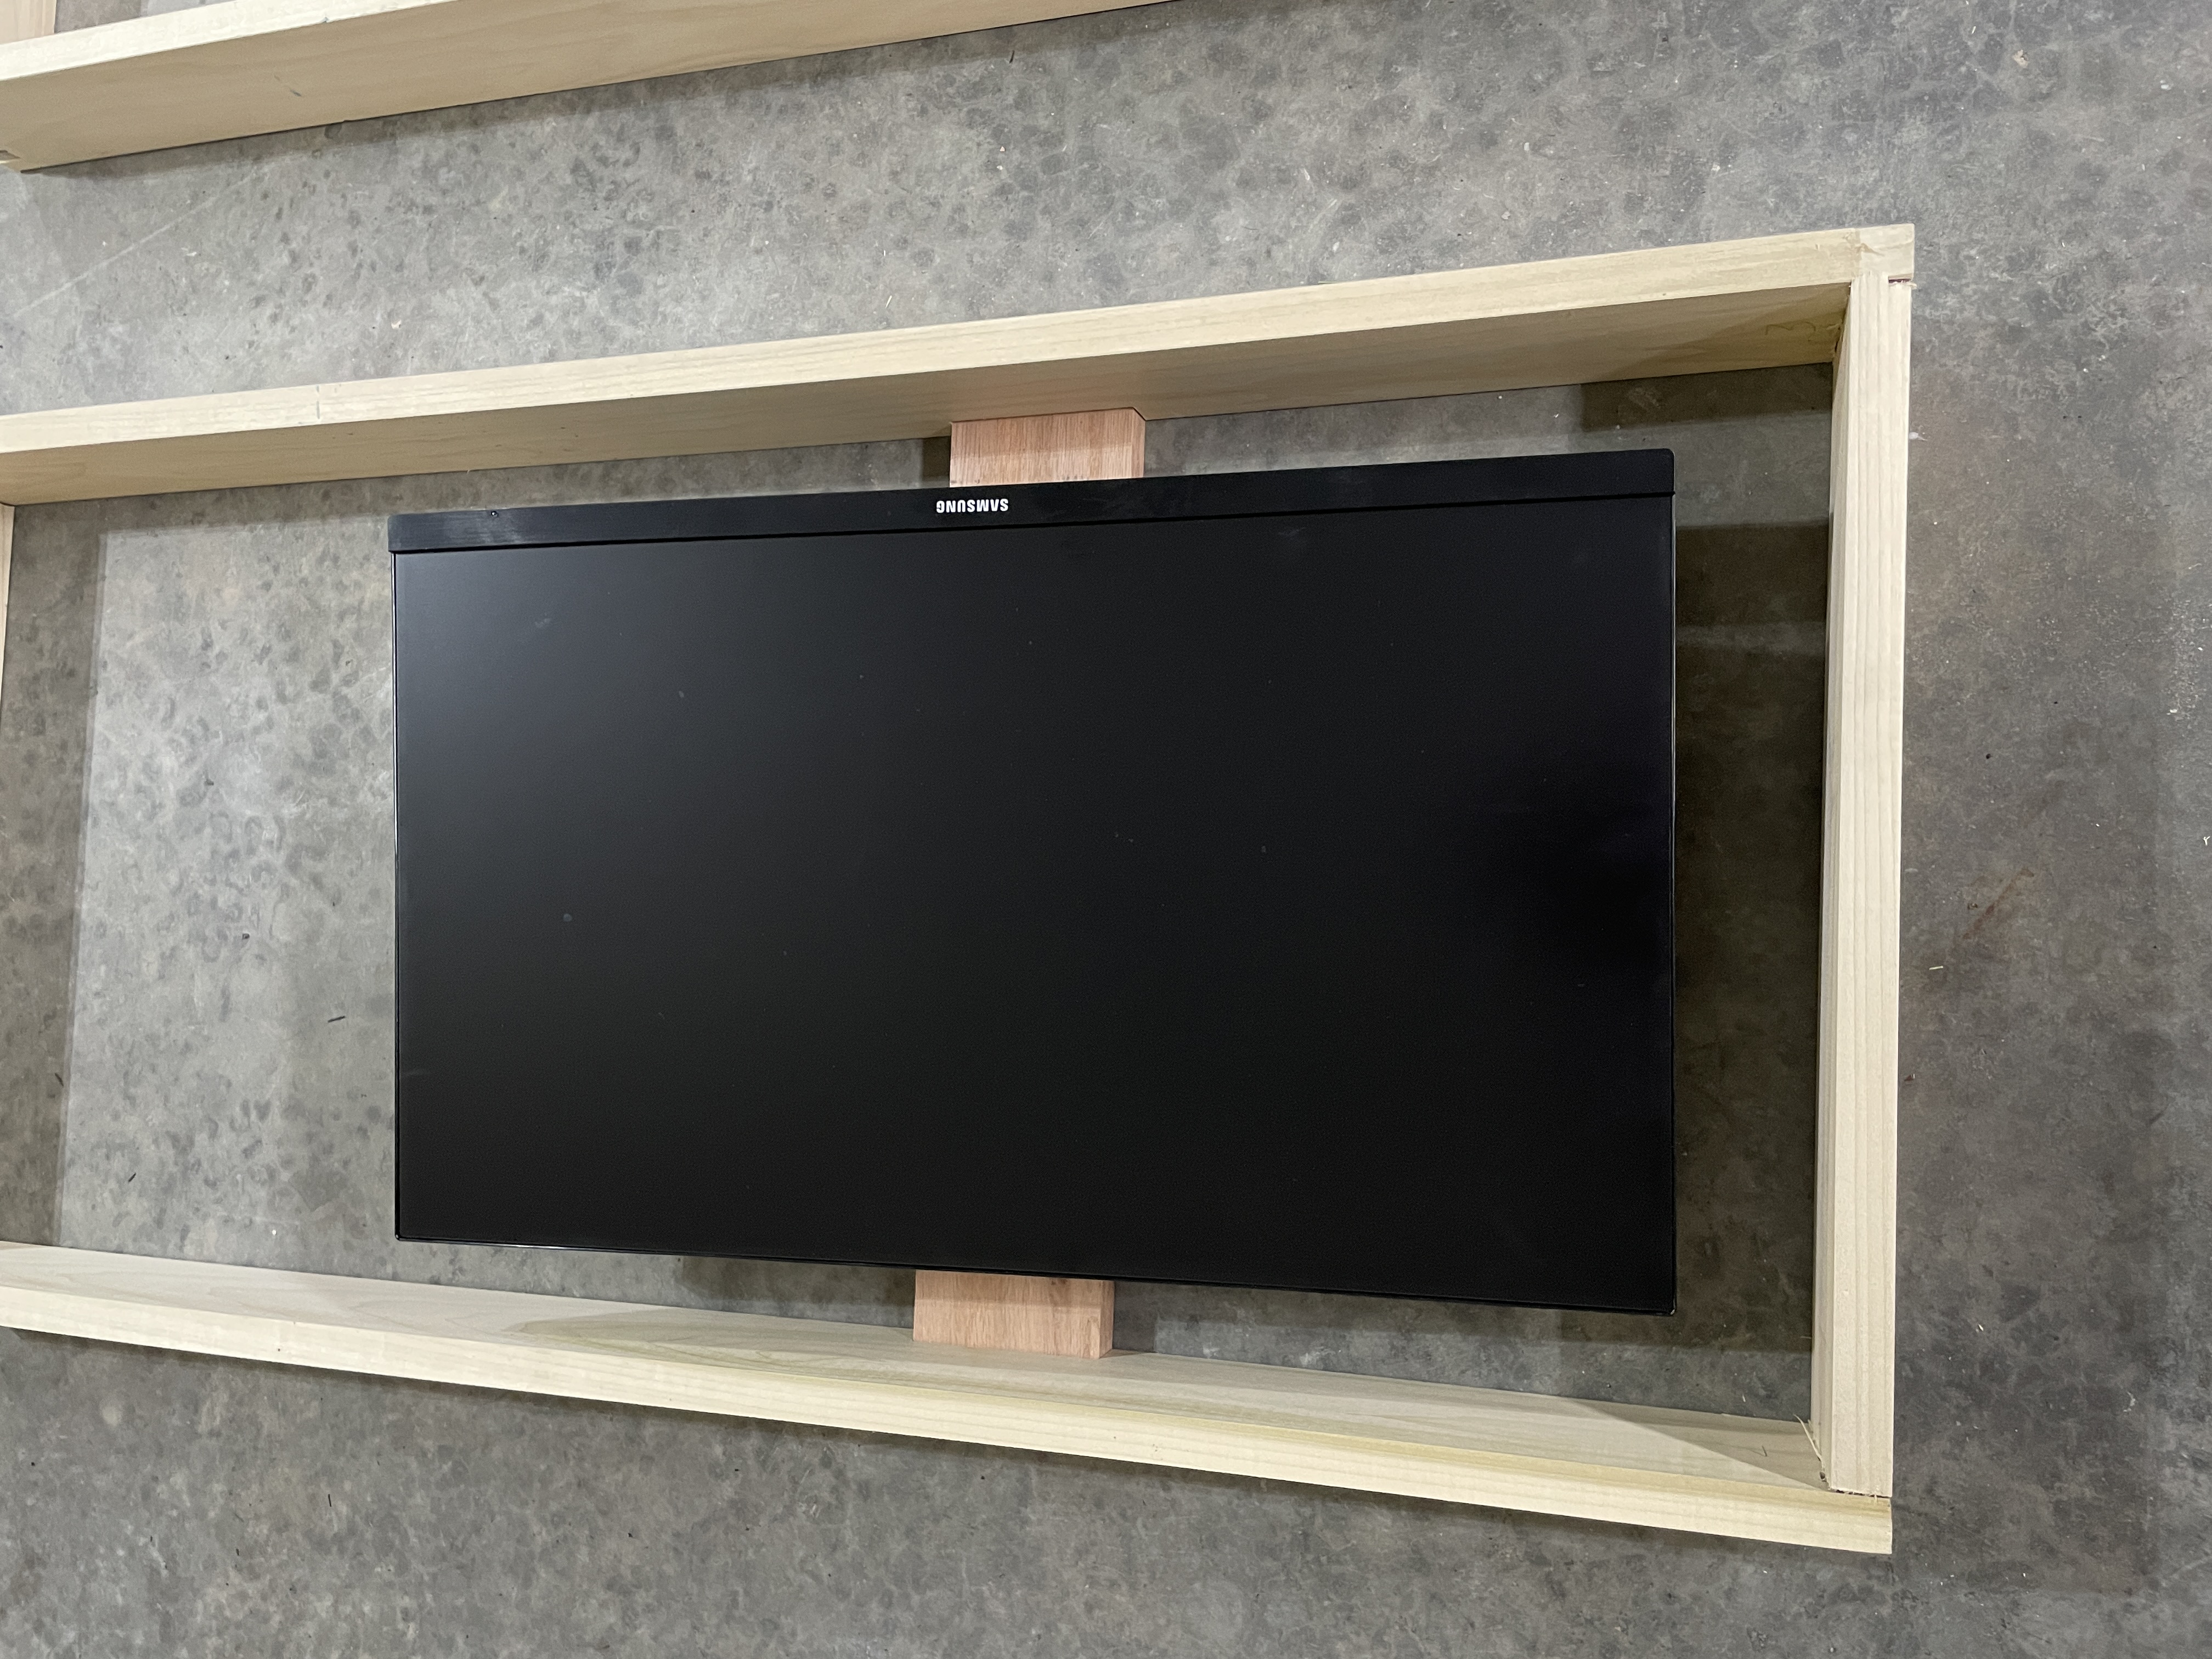
The door opening in the base will be 40" wide. The doors will be at least 6" deep so I have to build them the middle portions at an angle so they can open and close without hitting each other.
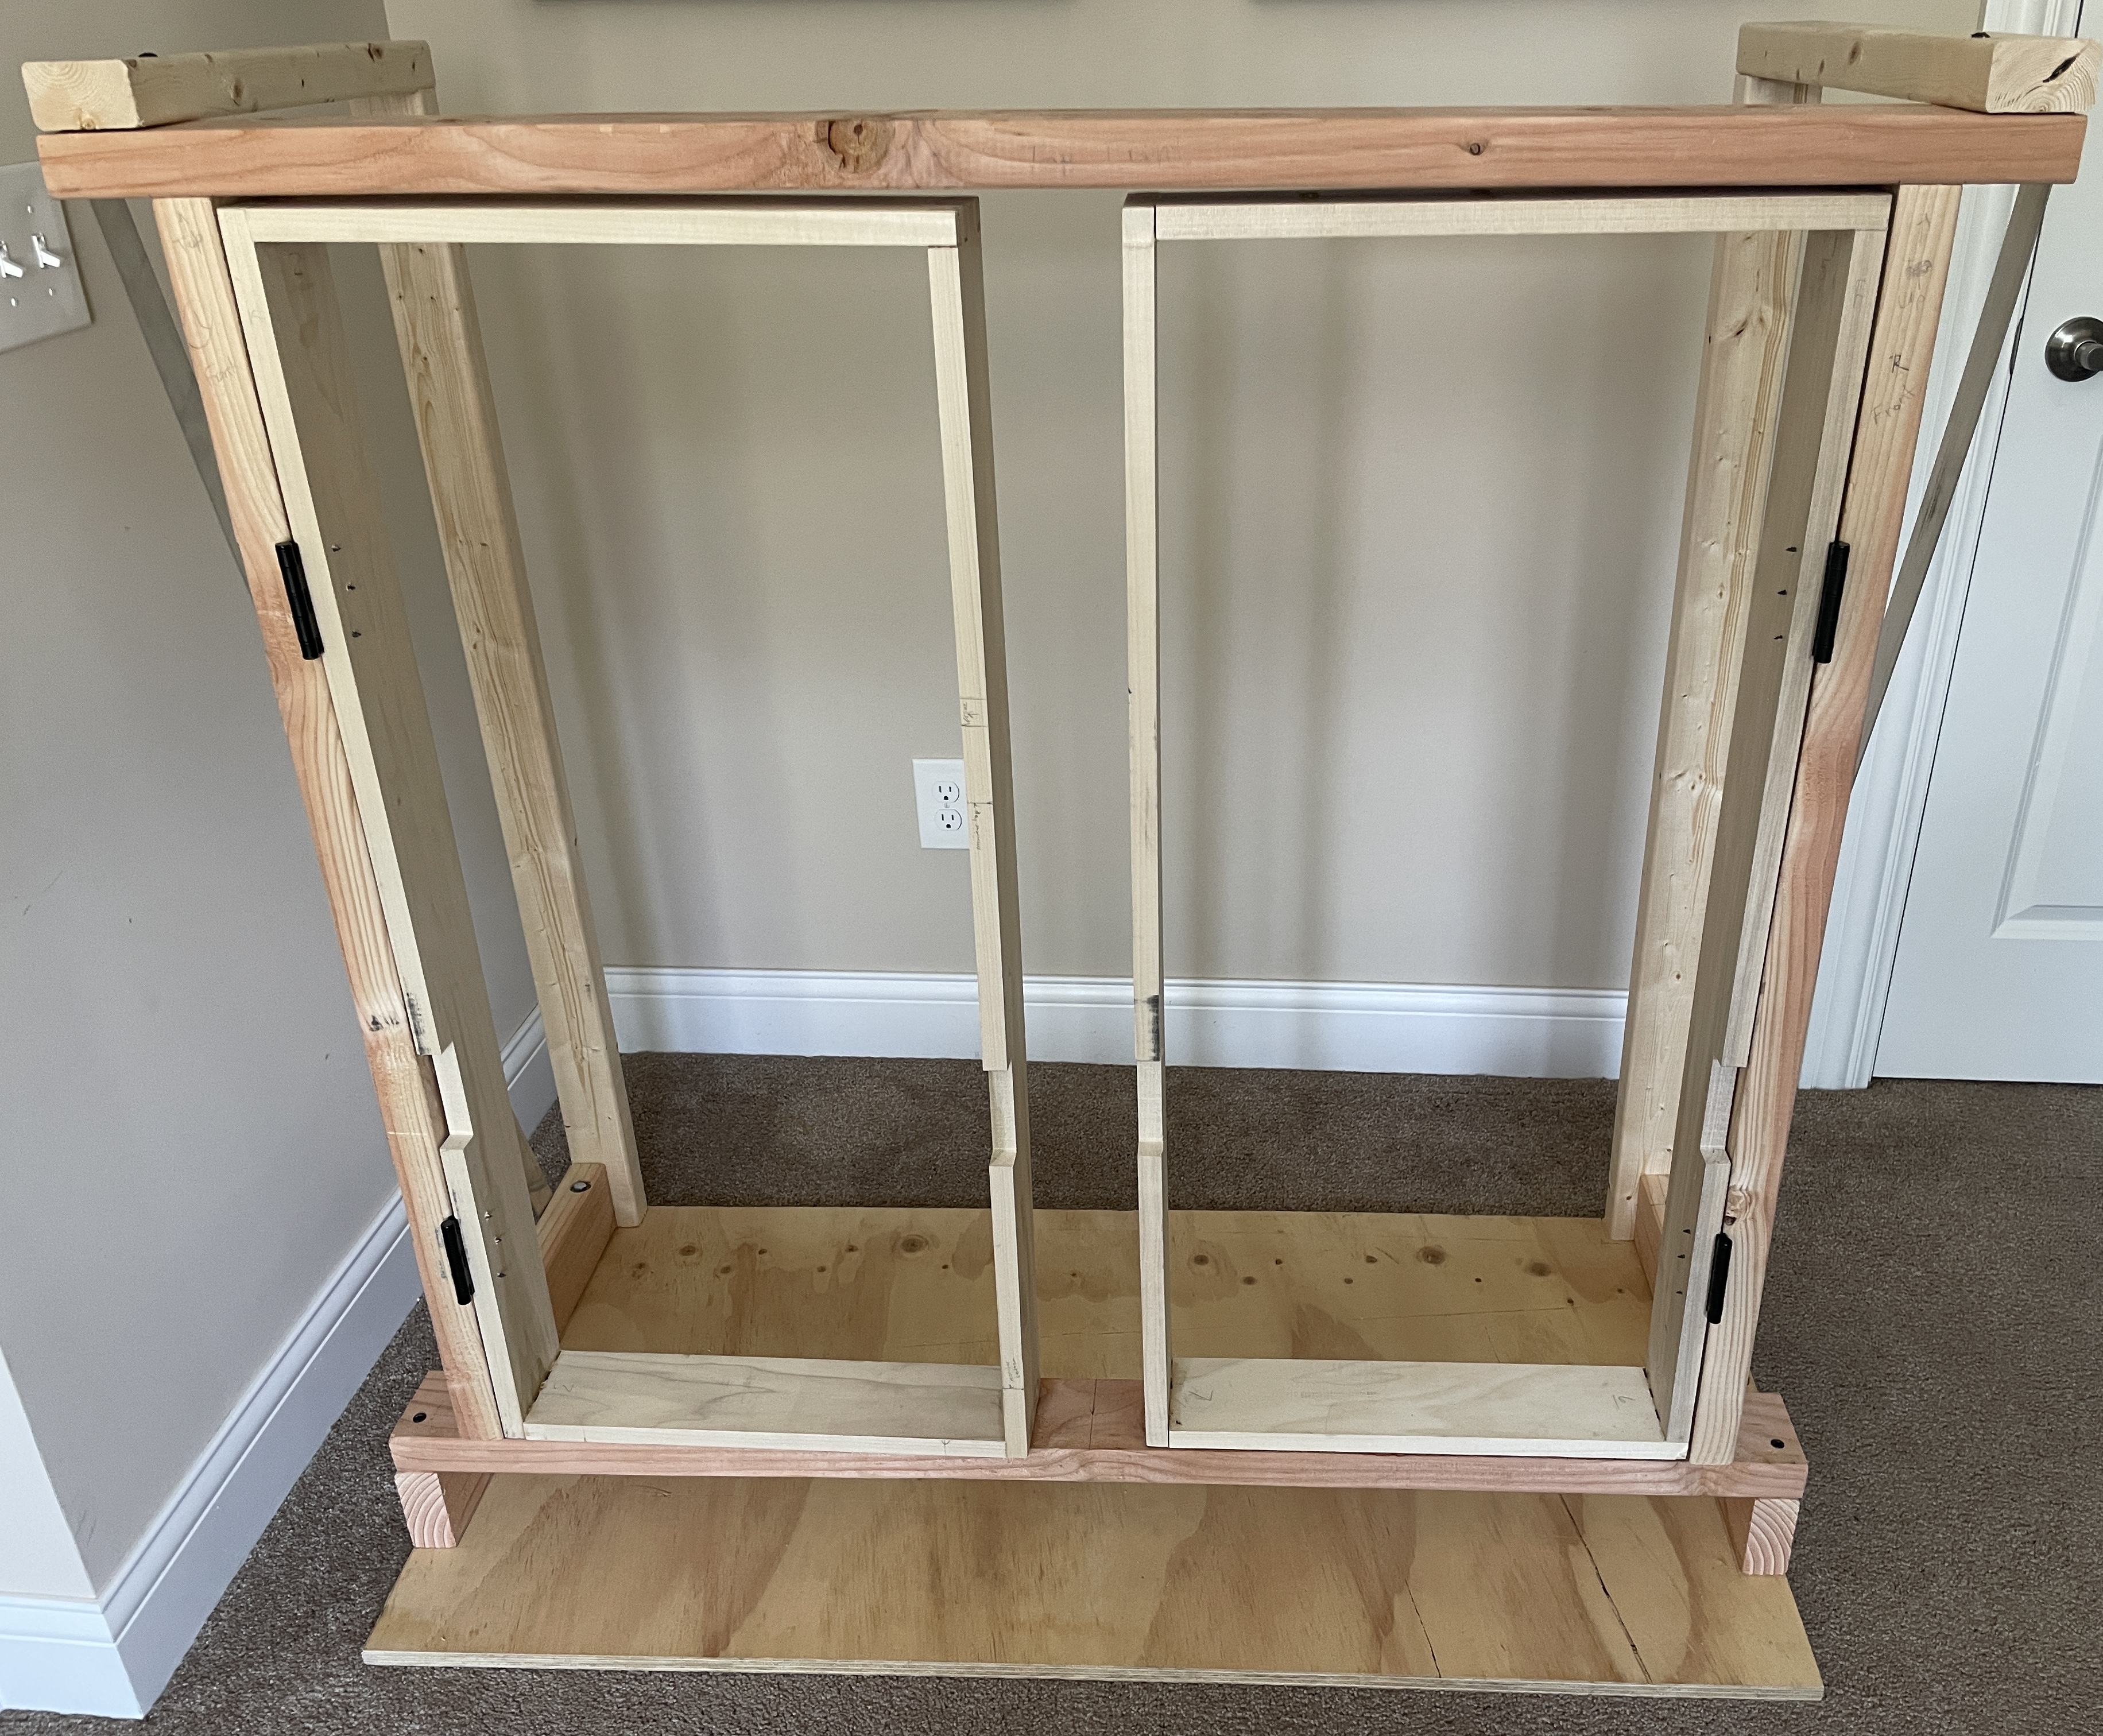
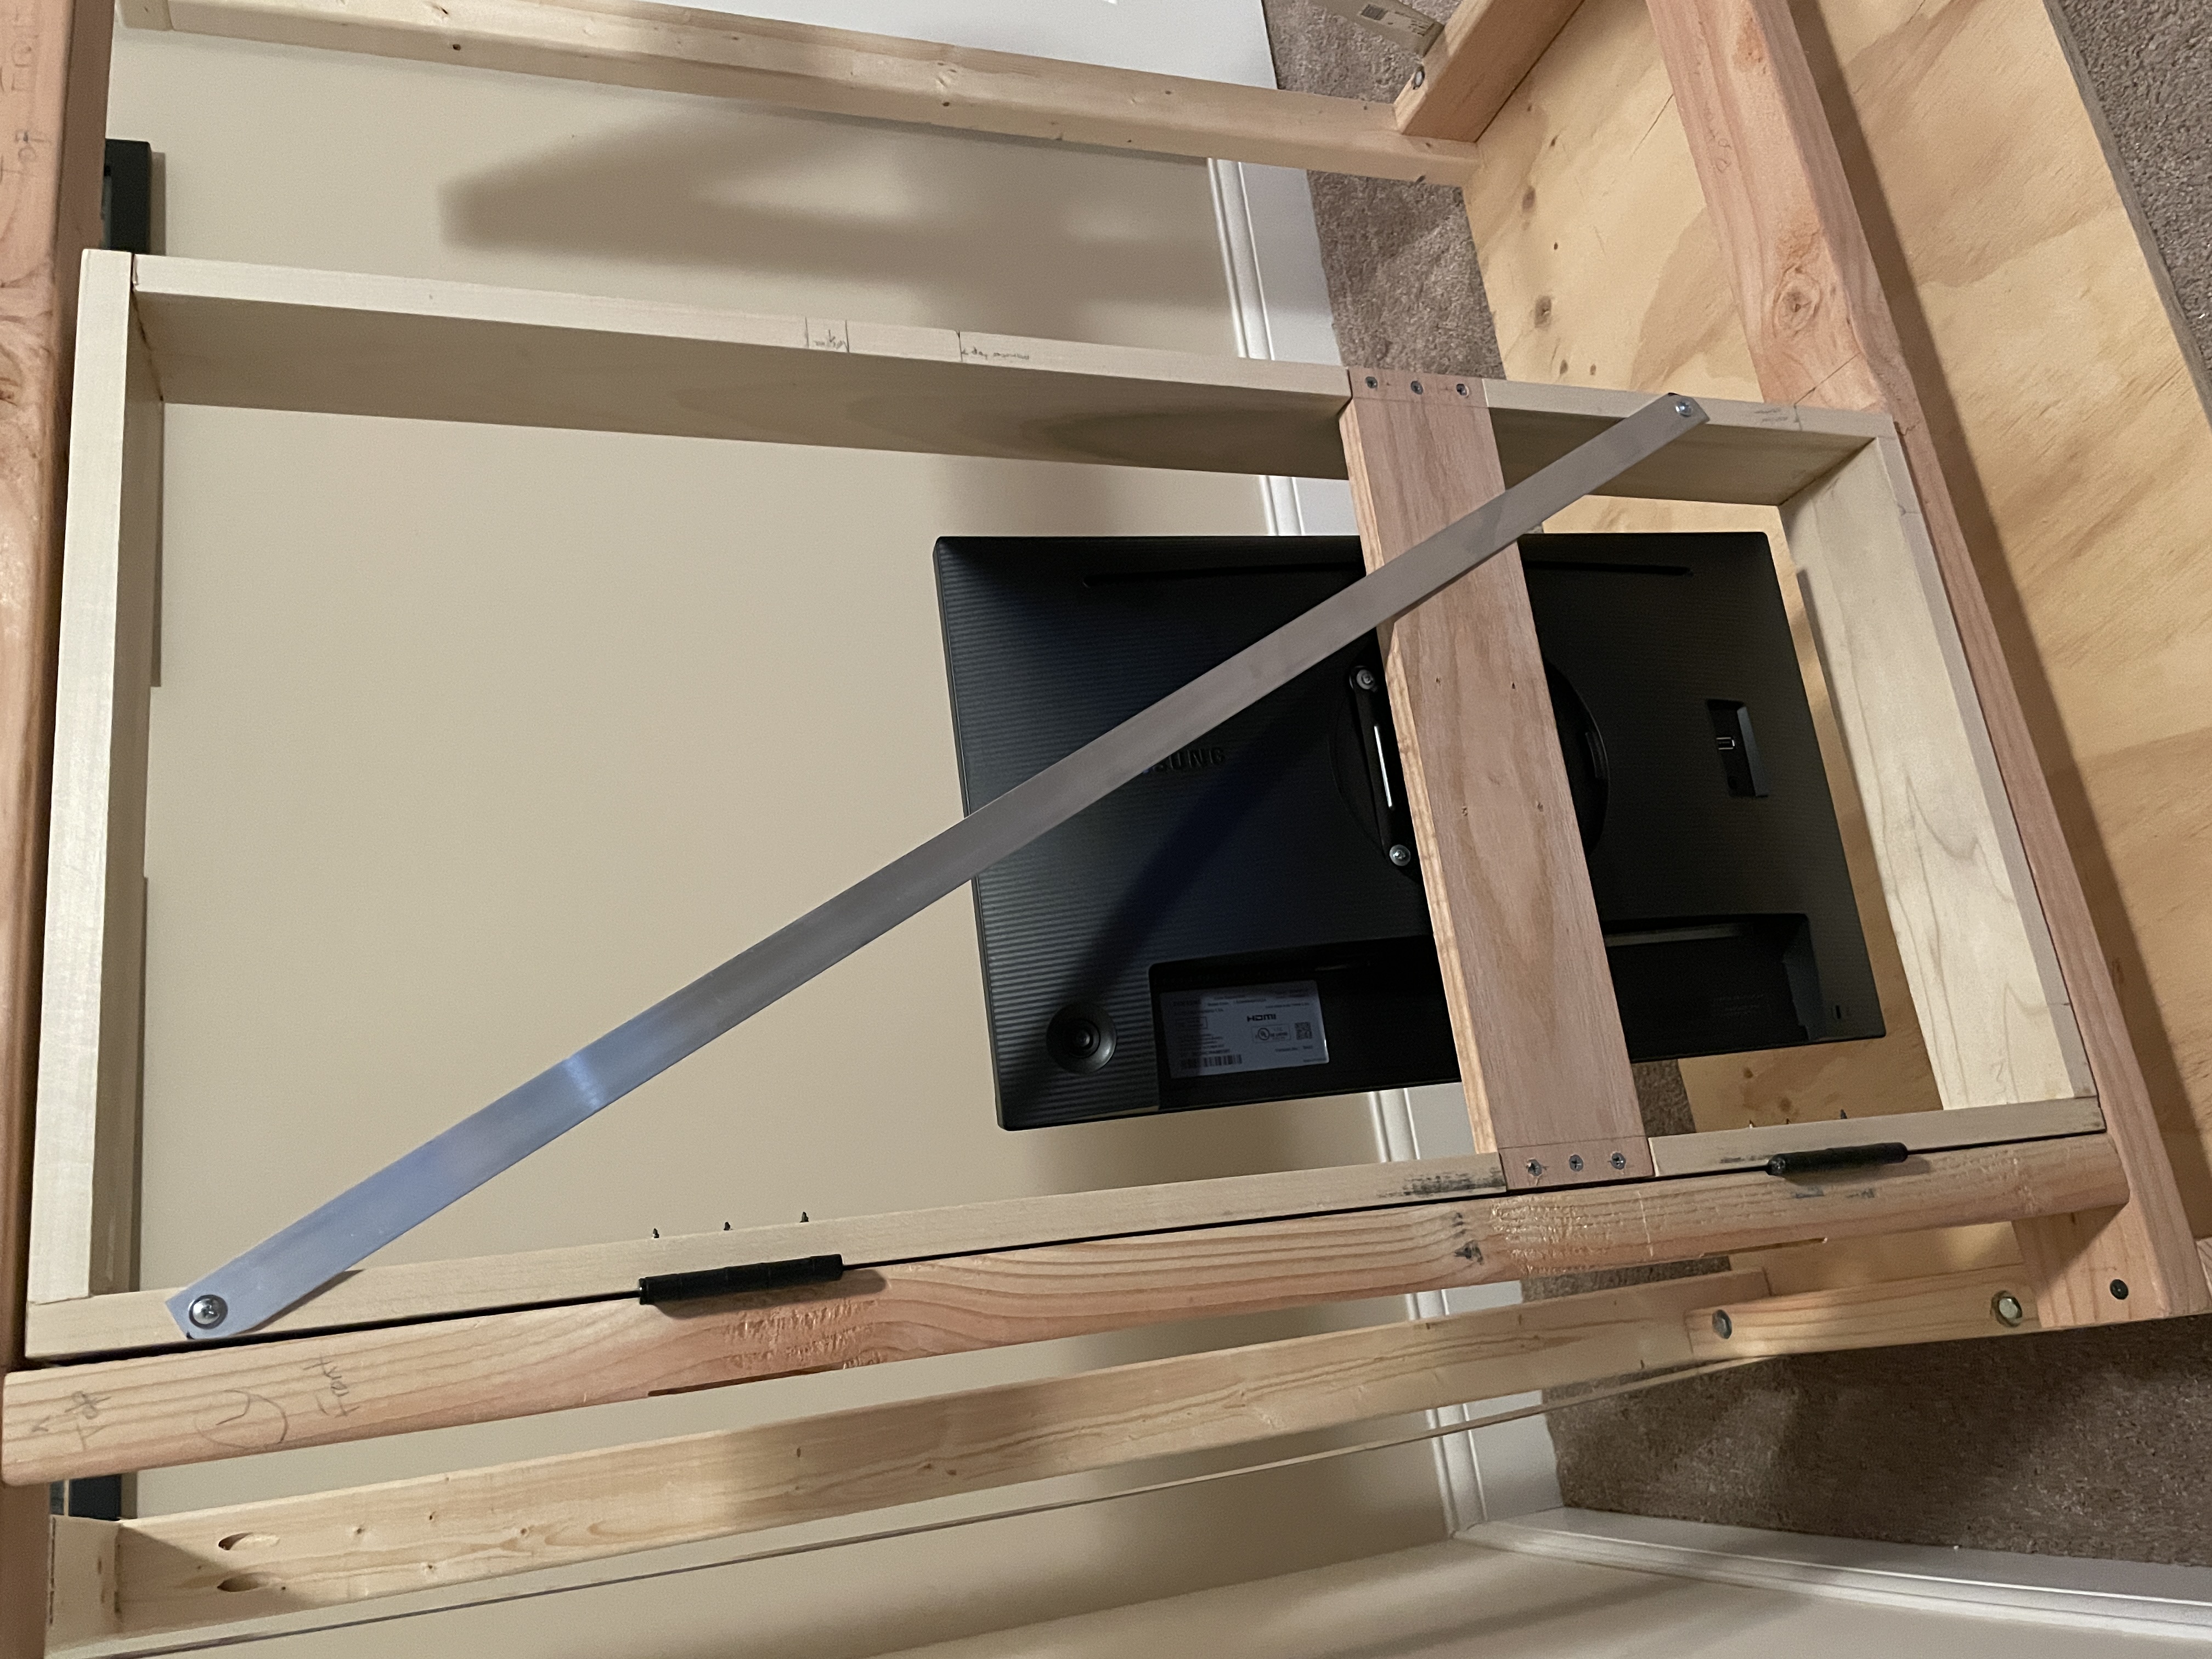

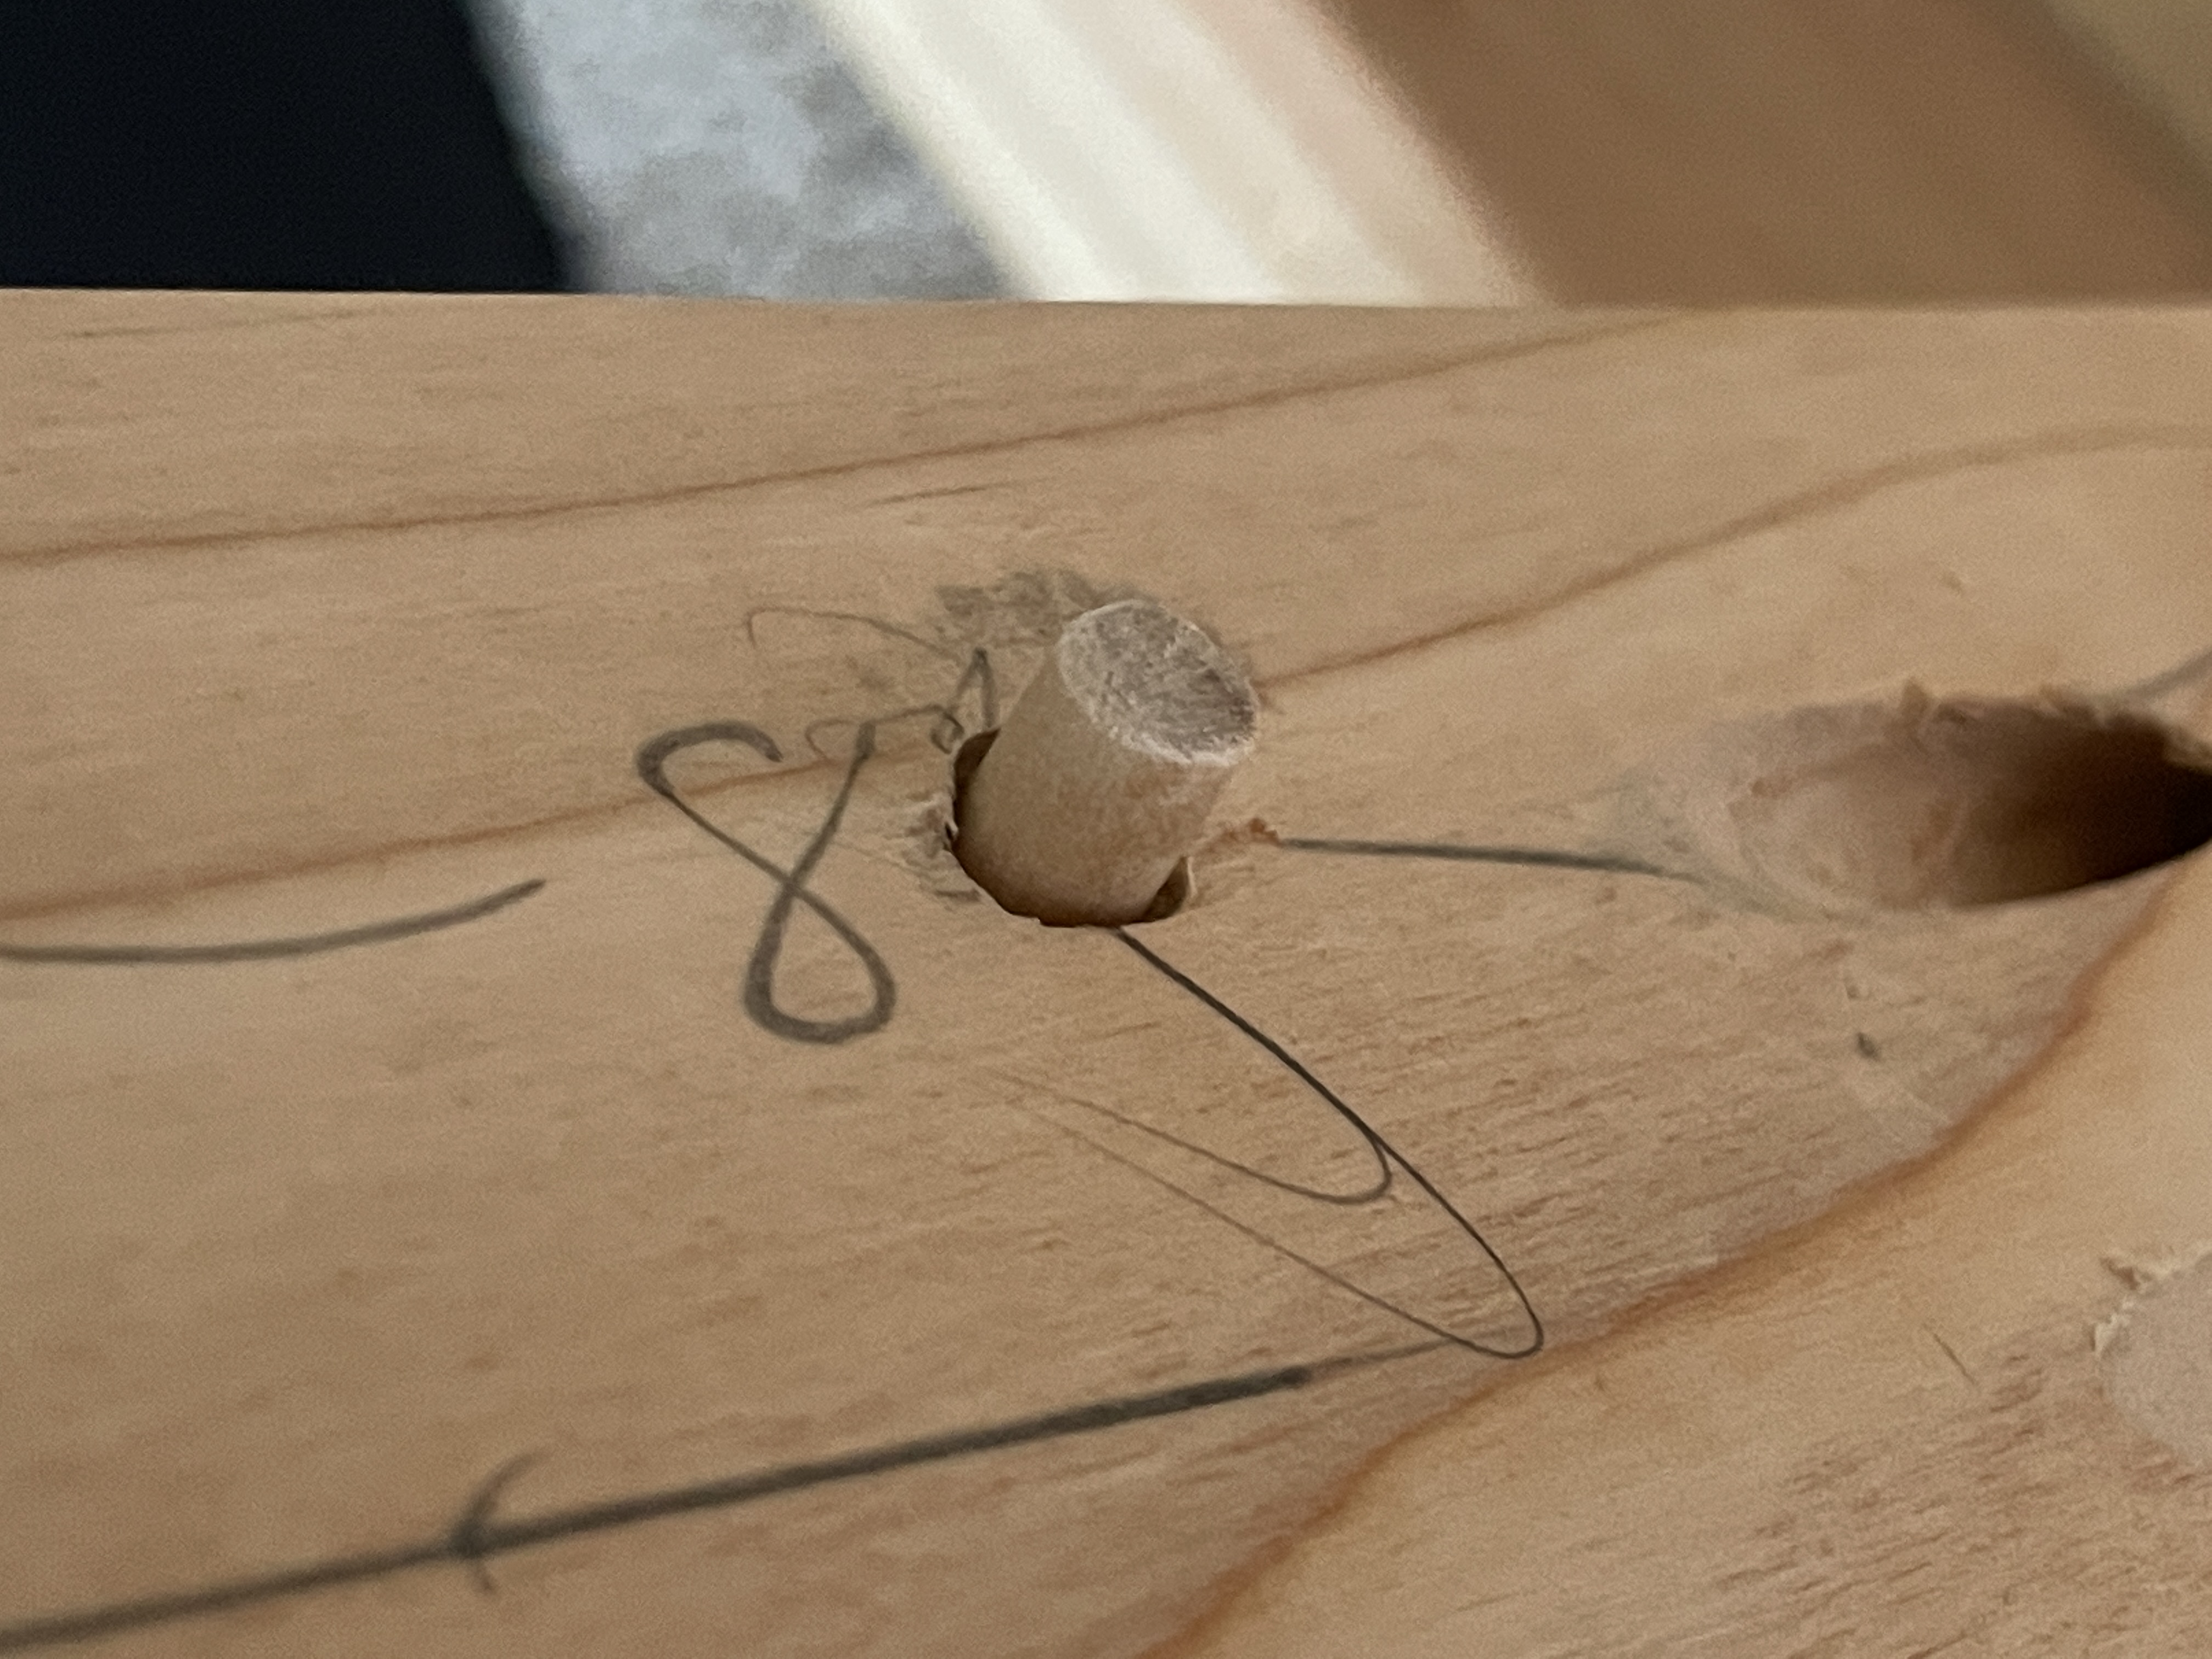
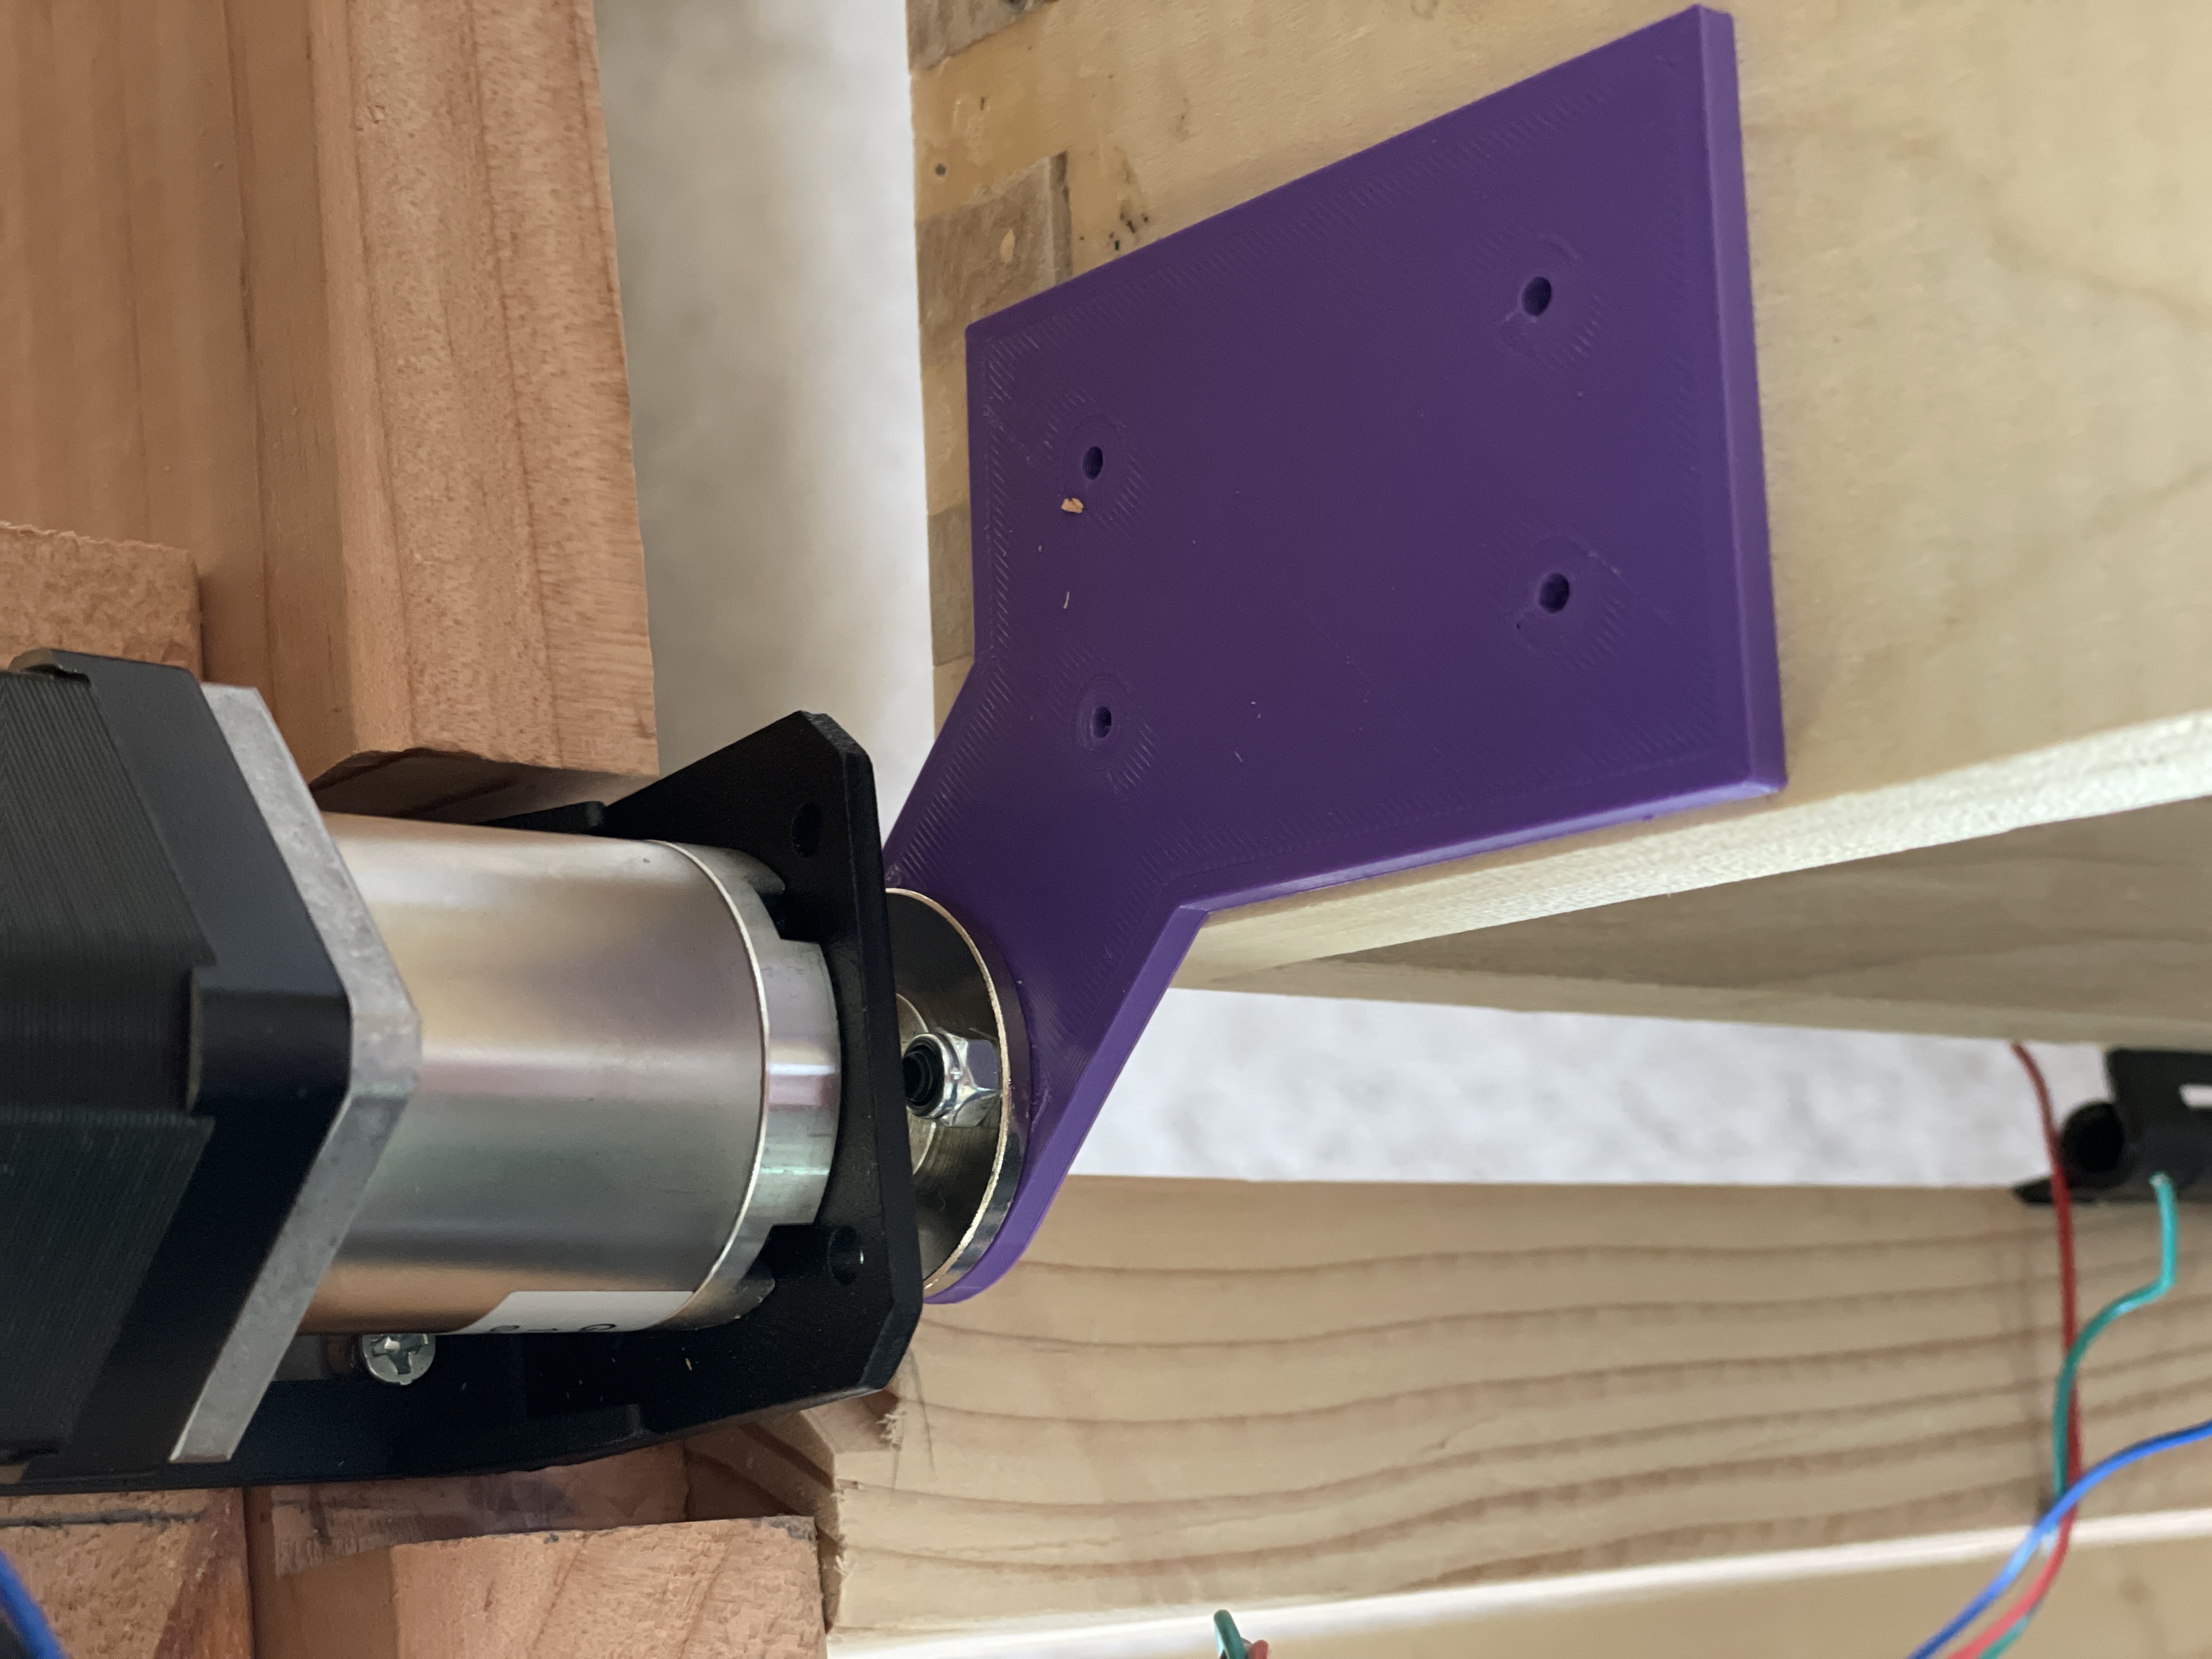
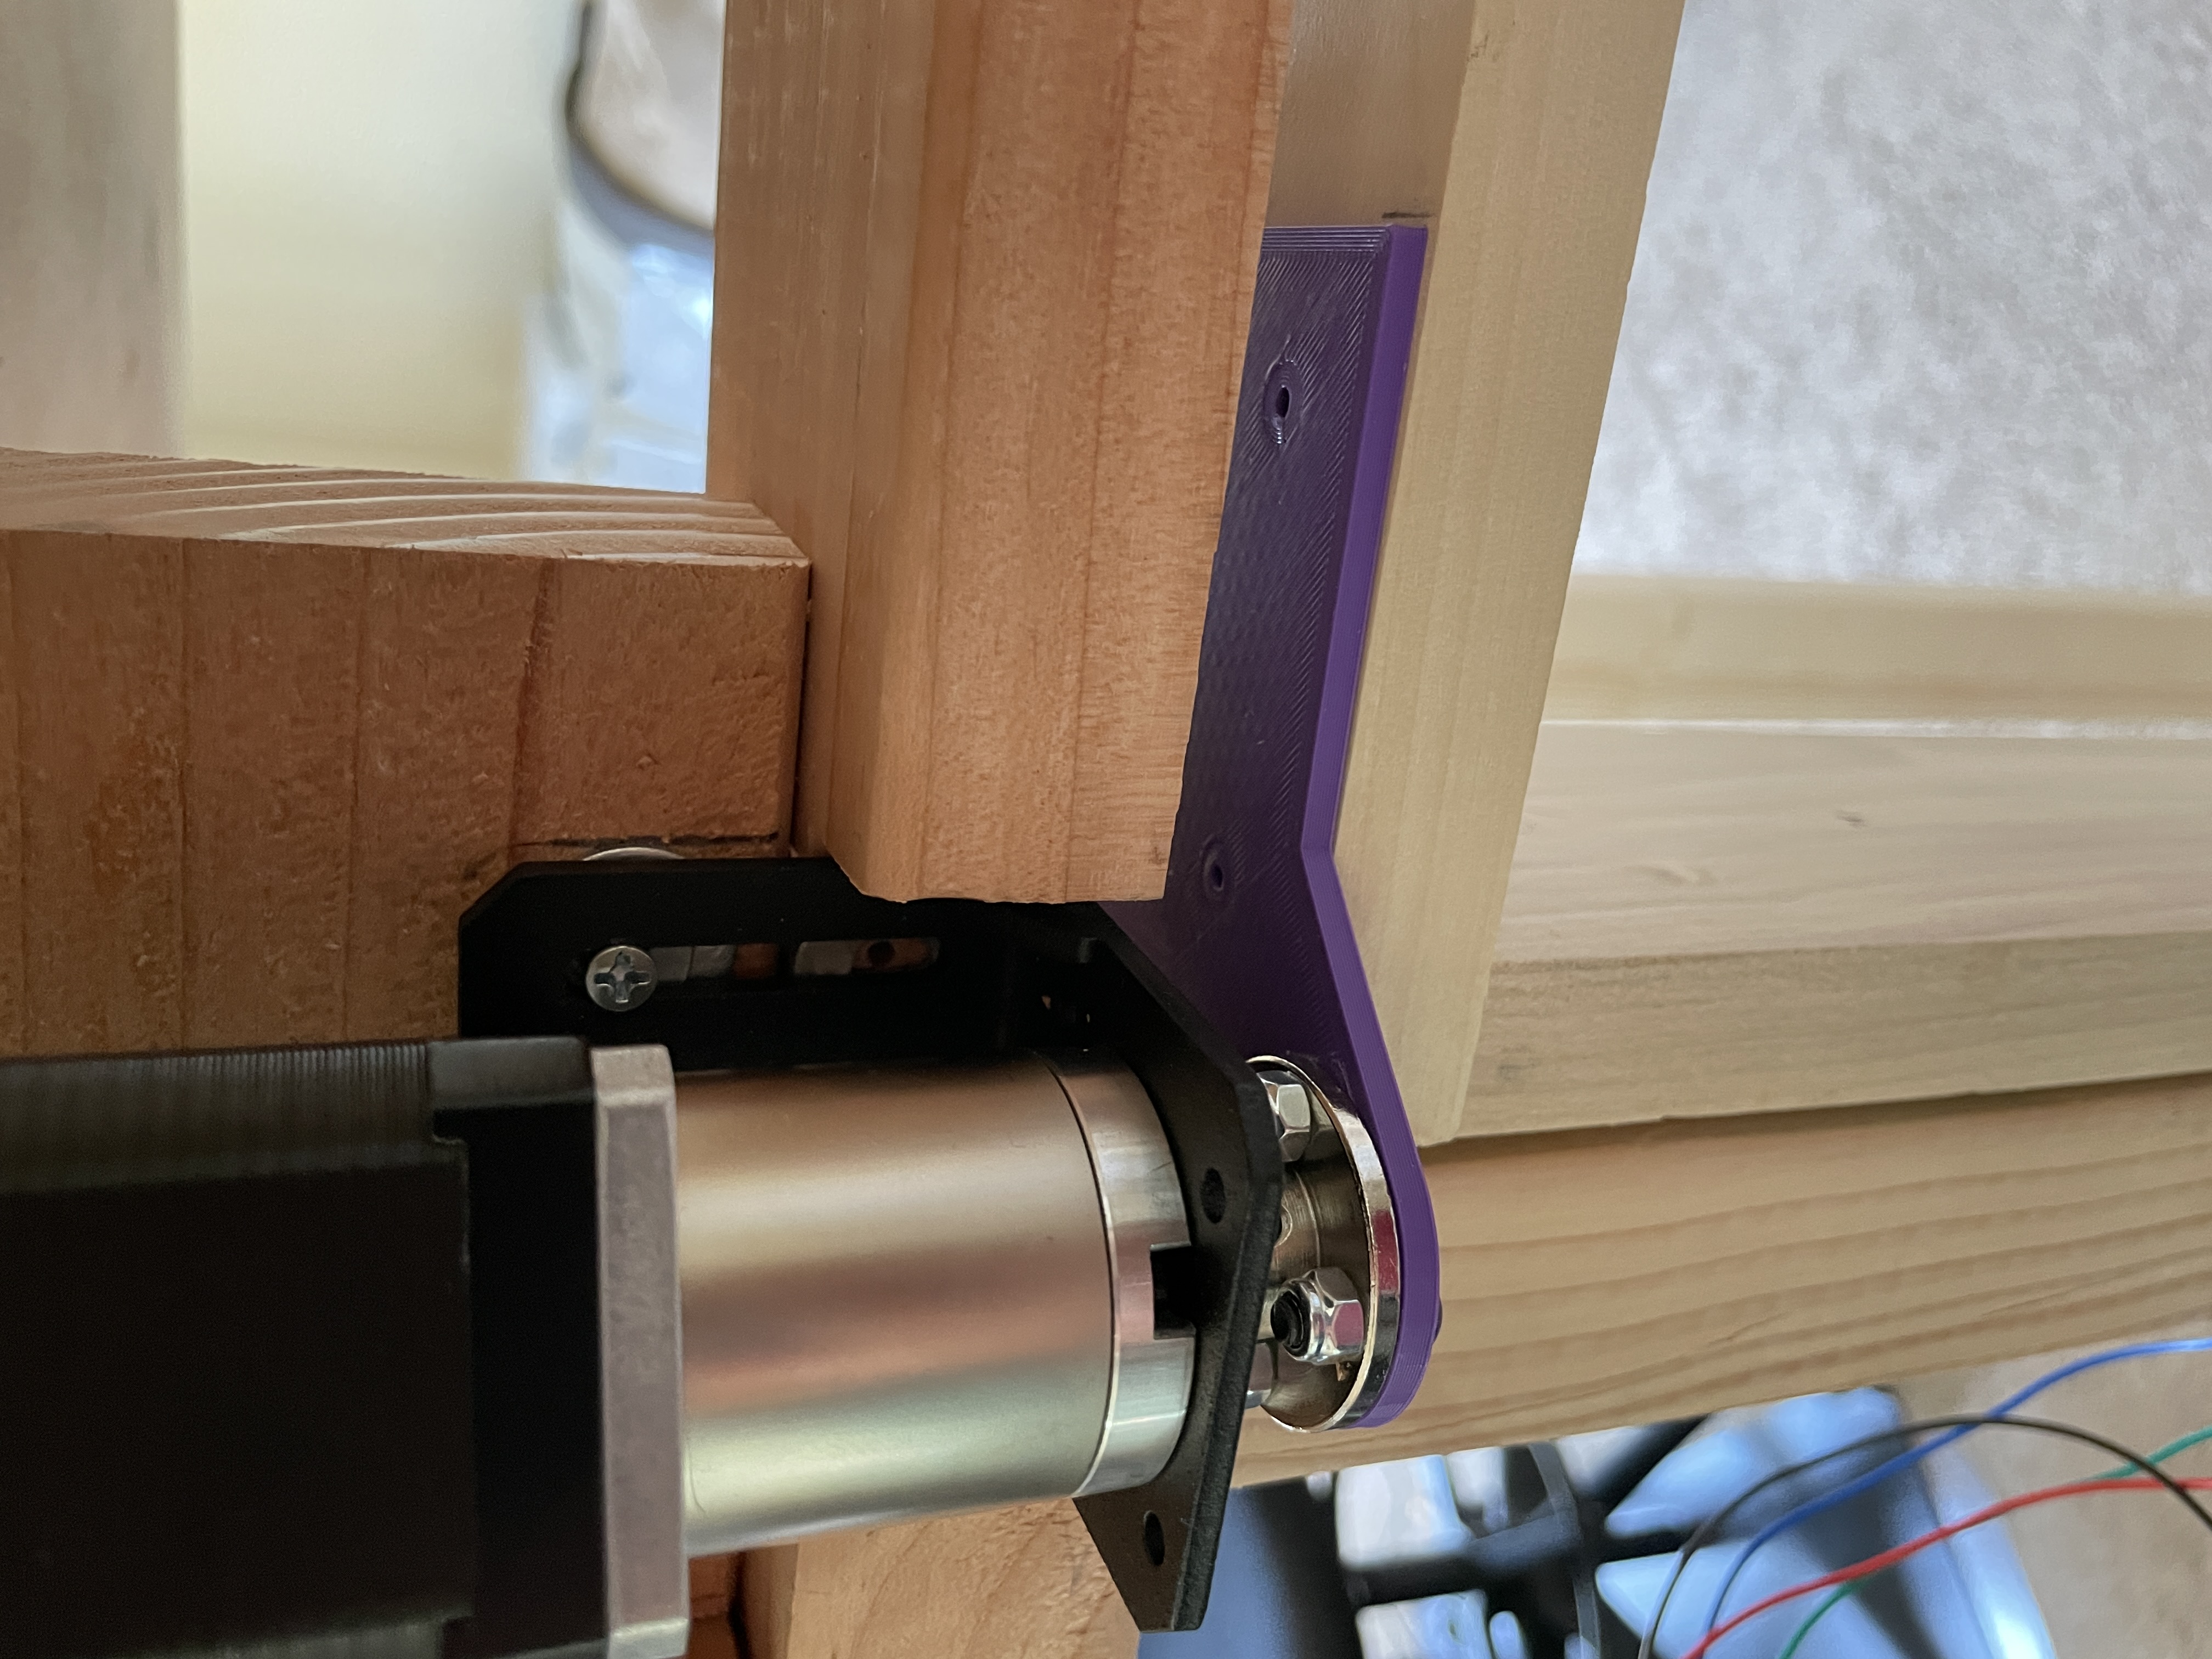
The motor drivers are common Nema 17 stepper motors with a 100-1 gear reduction. I wasn't sure how much tourque I needed to move the doors. 100-1 is very slow so I will be testing a 20-1 ratio soon. I designed and printed a door mount. The mounting of the motors has to be nearly perfectly in line with the door hinge center of rotation. With common lumber, it's difficult at best to find straight piecesso this was a difficult task. I had to design the mounts so there could be slight movement as to not bind the motors. The holes are larger than the pins that go into them for this reason.
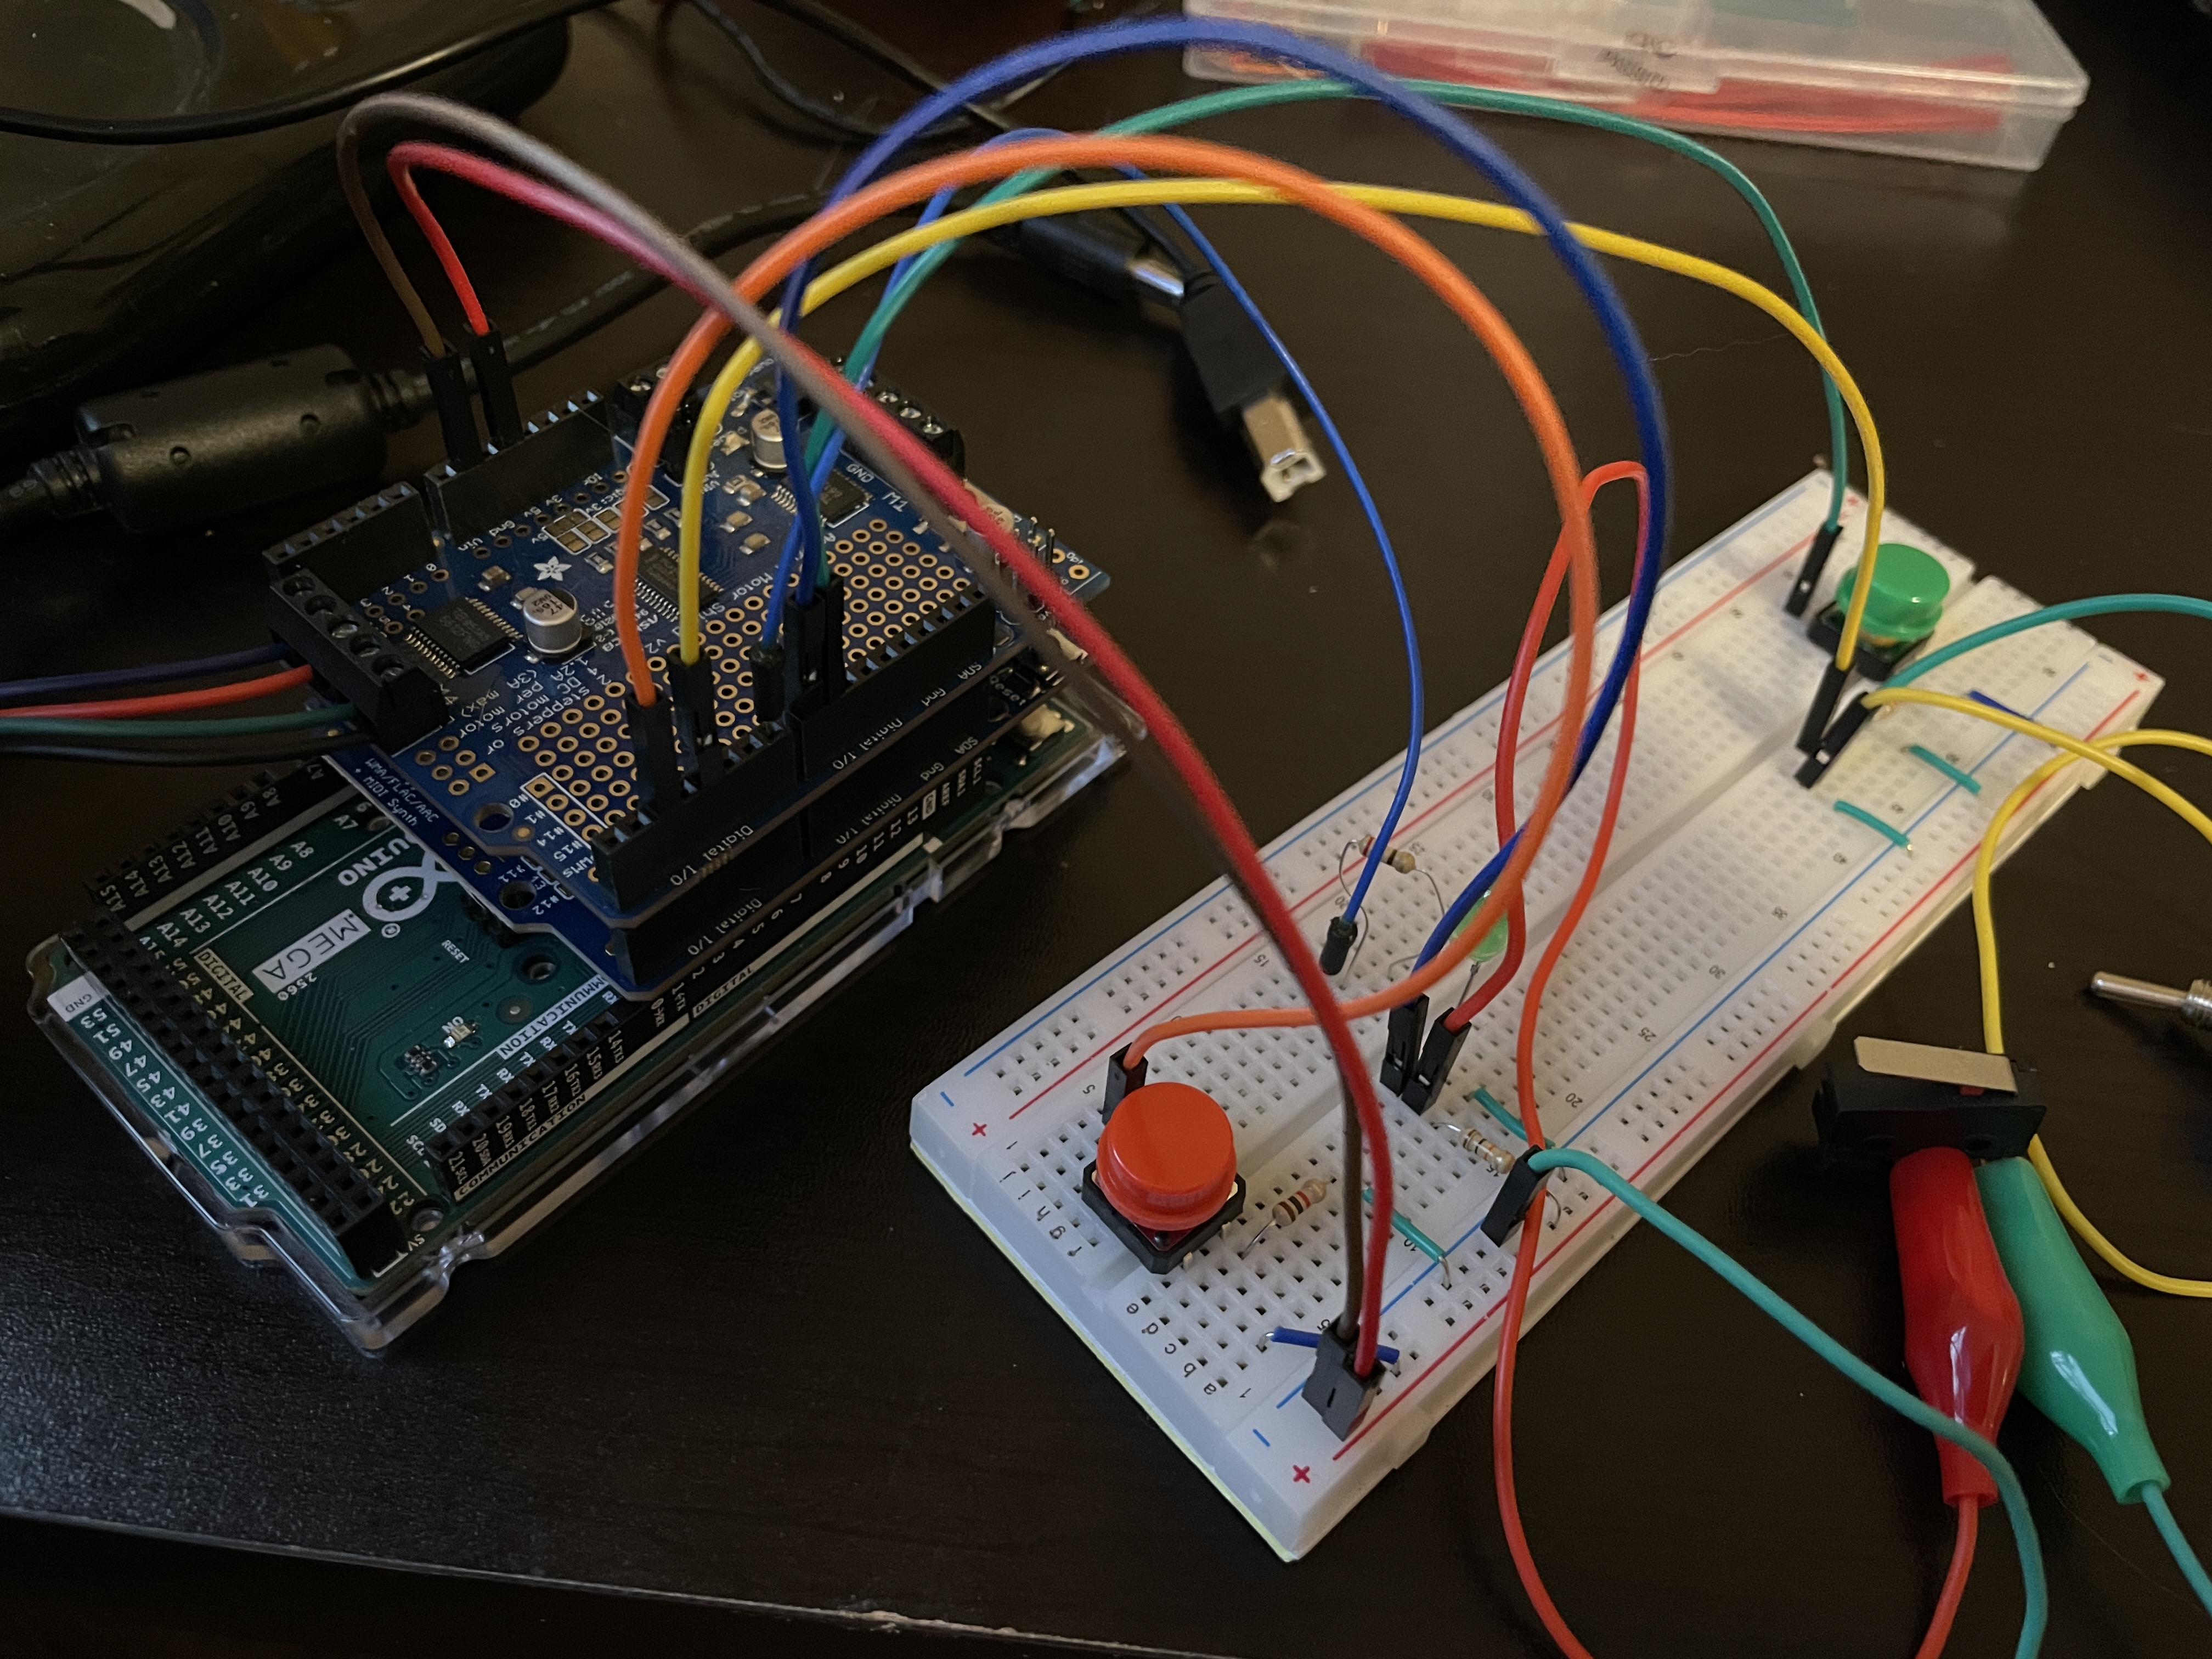
The entire system will be driven by an Arduino. I'm currently using a Mega but may upgrade later. I may need more pins for the LEDS than a normal sized Arduino has. I plan to use several shields; one to drive both motors and some servos and another to drive the sound effects I'll be adding. I might add one for WiFi so I can control the system from my phone.
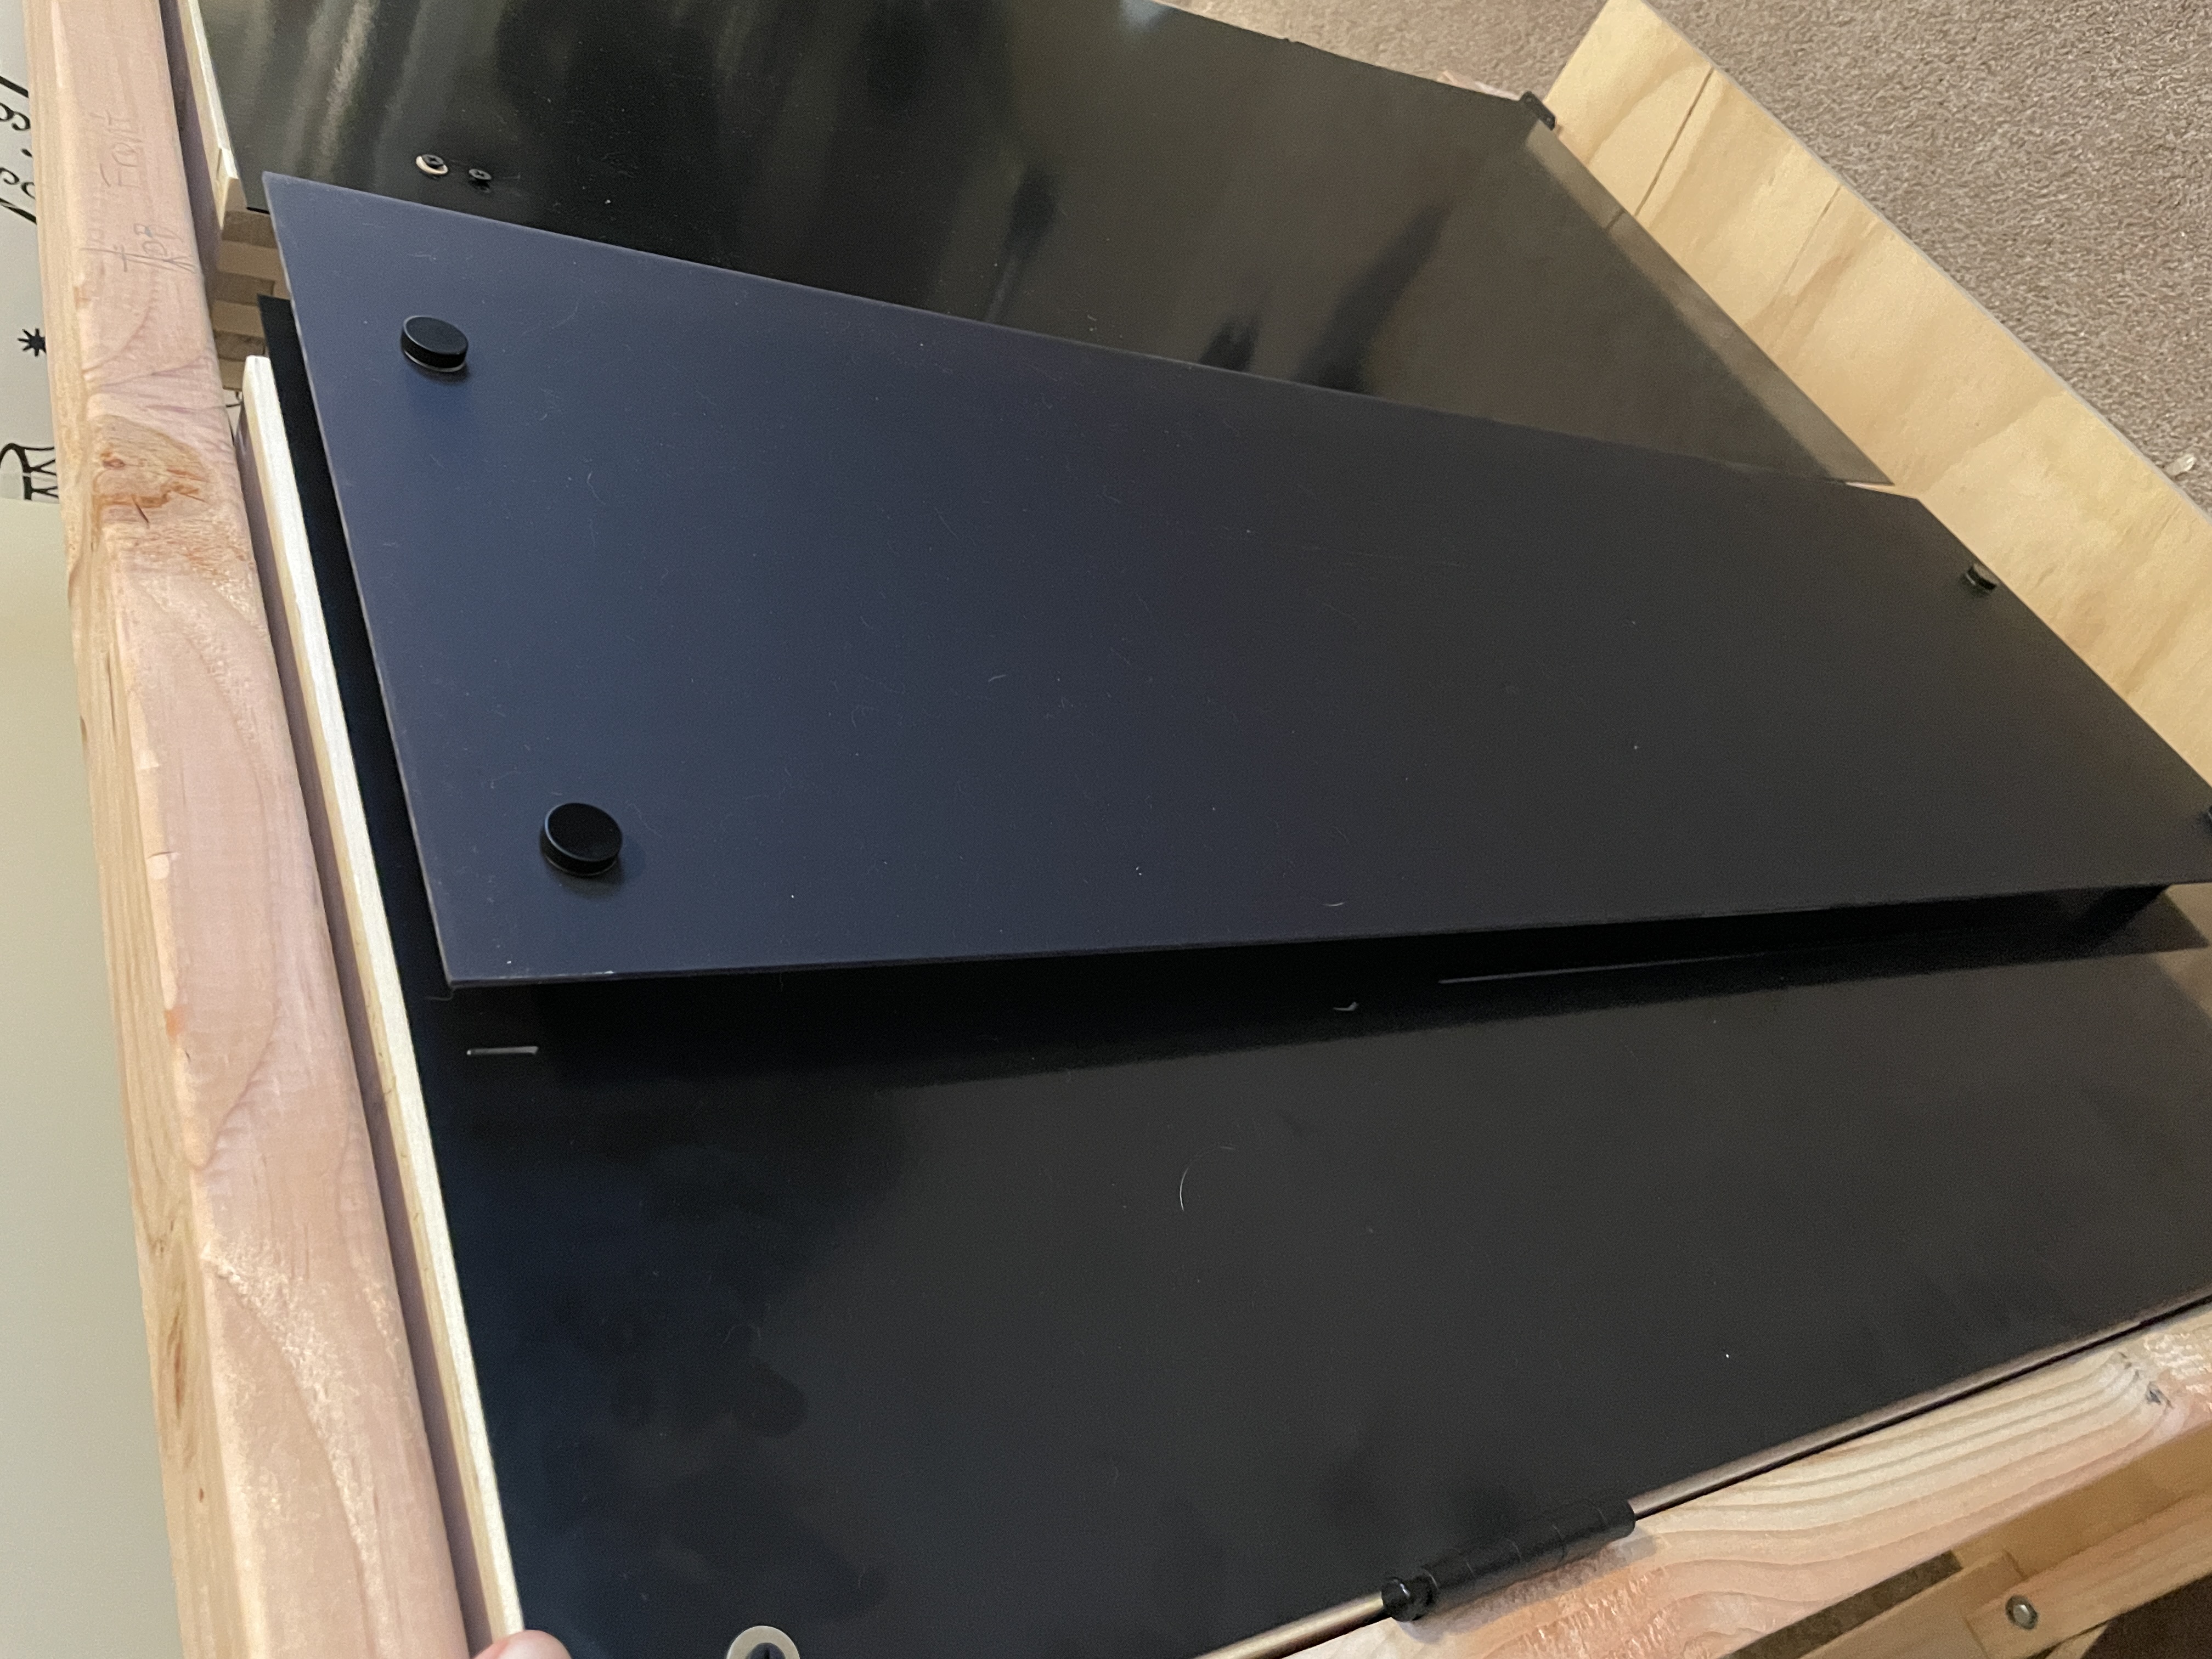
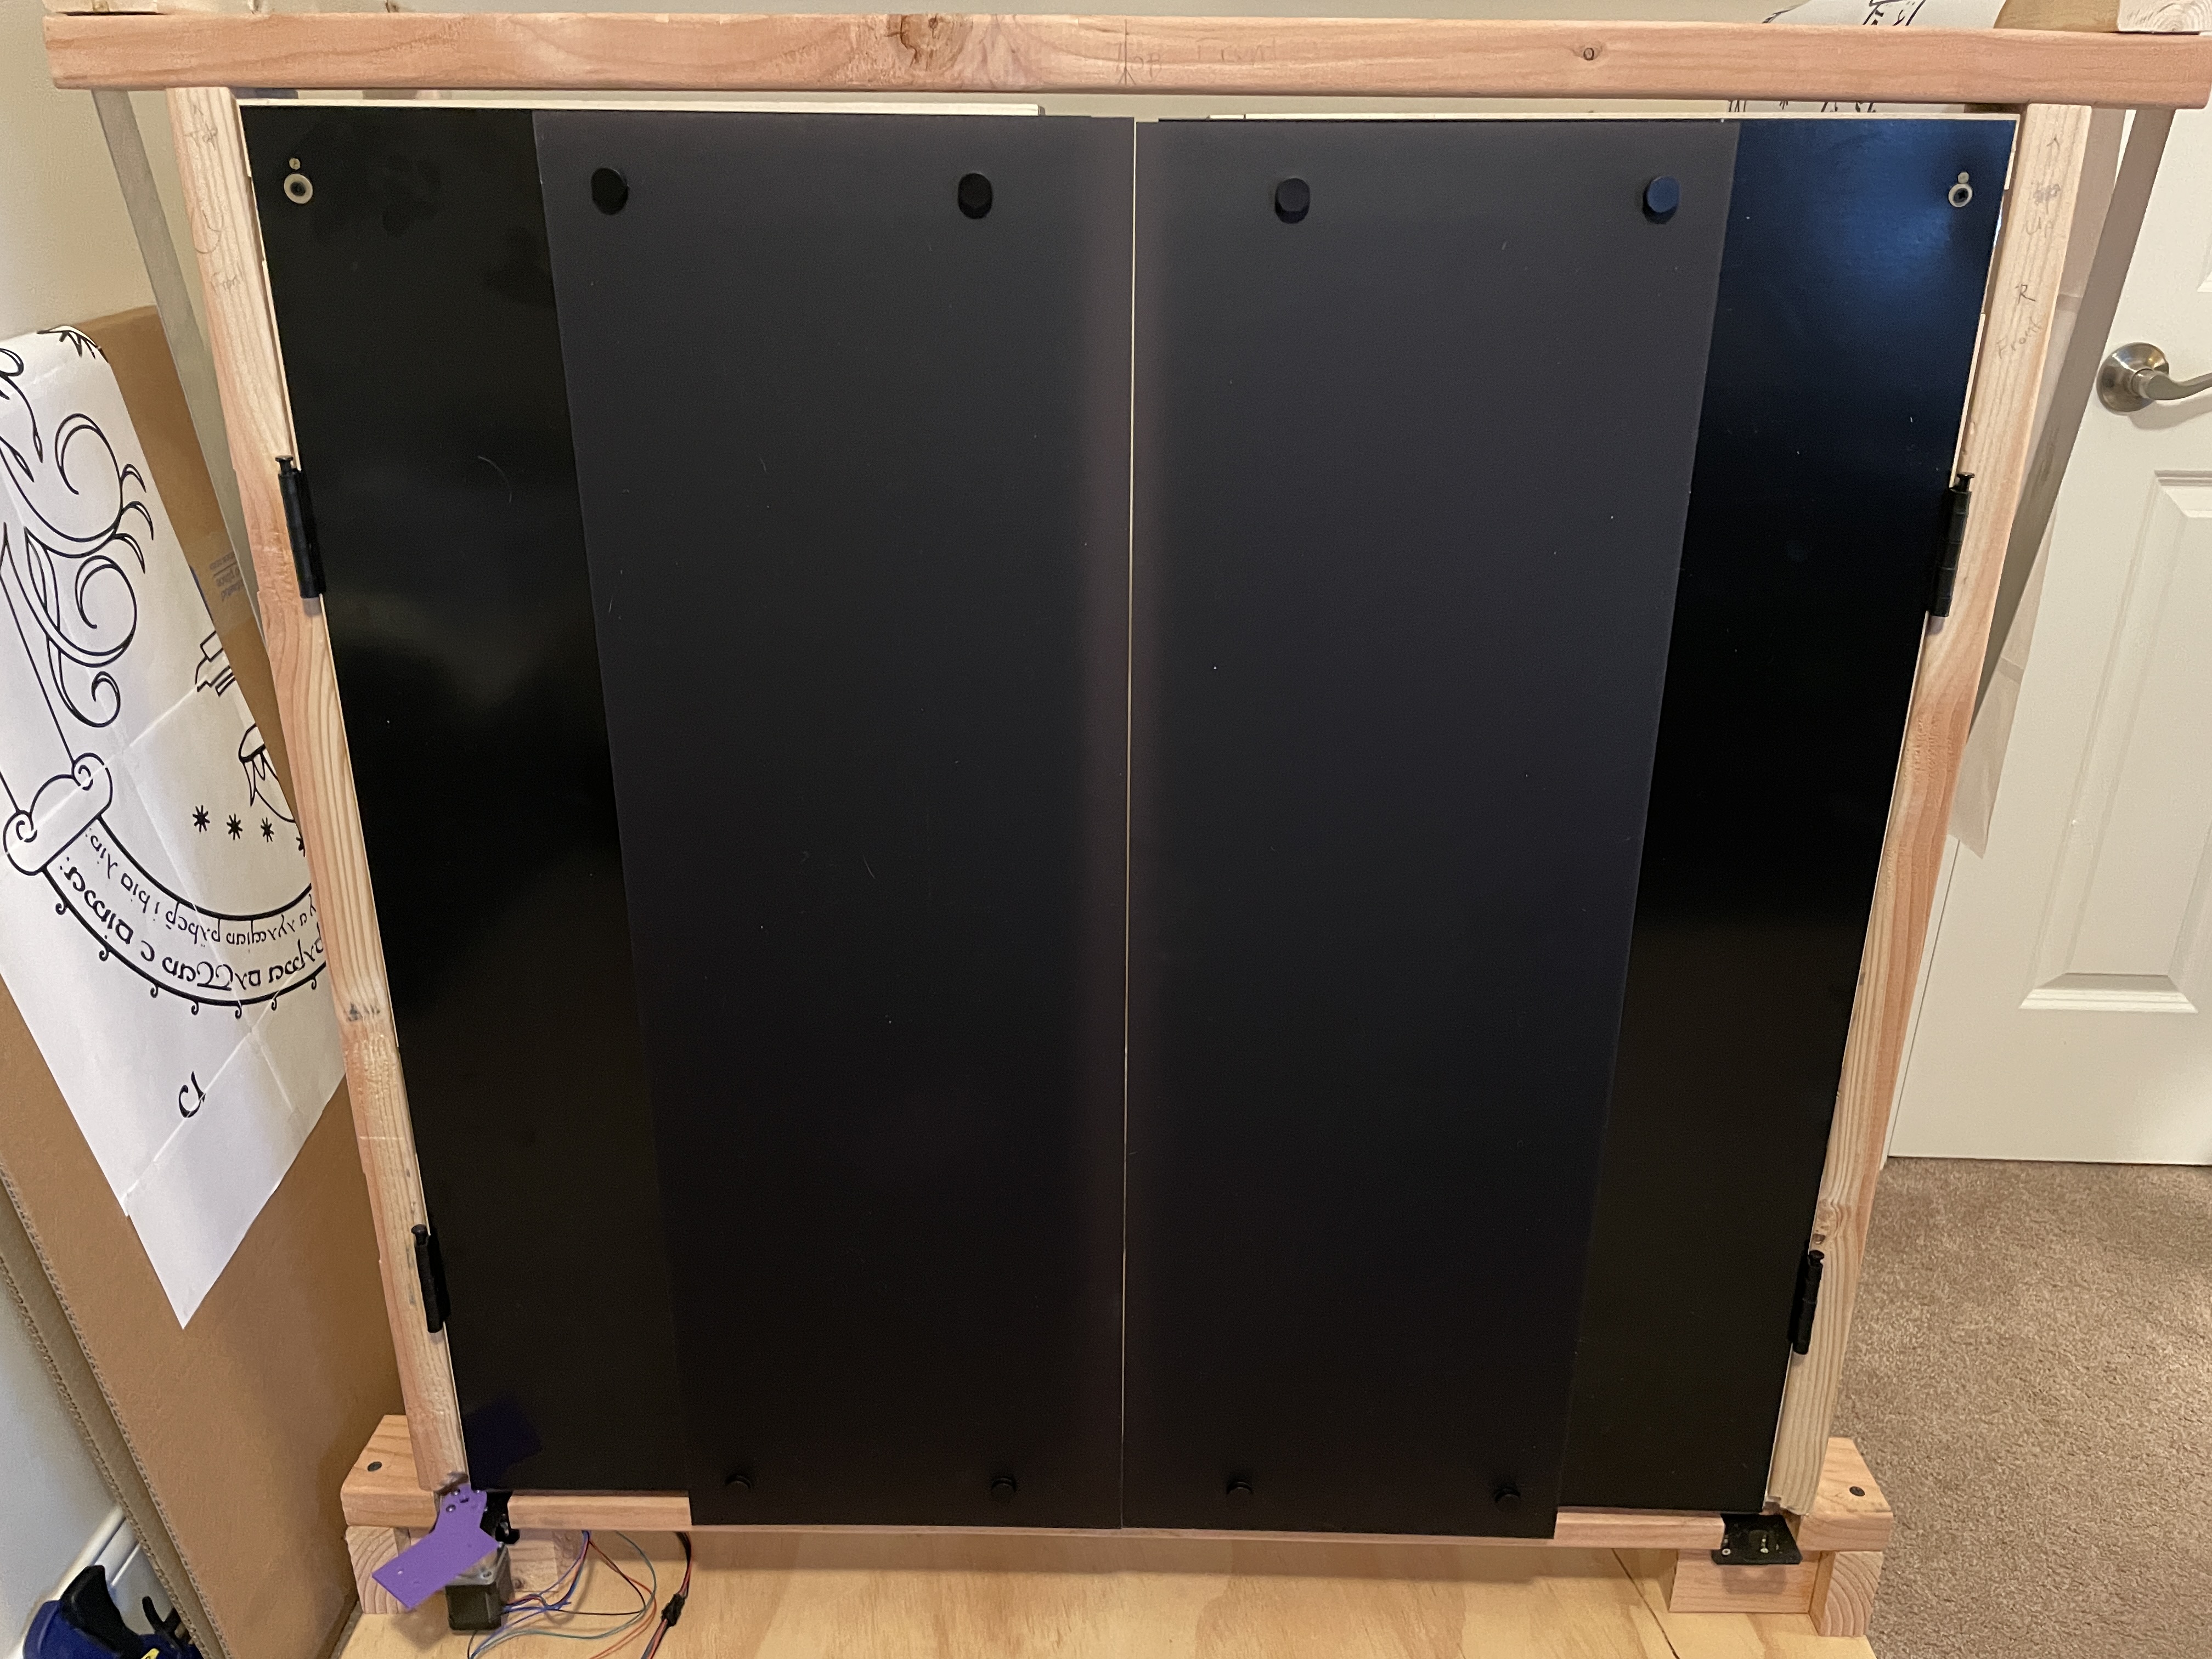
For each door, I mounted a sheet of Chemcast translucent black acrylic that is designed especially to diffuse LED lights. There needs to be some space between the acrylic and the LEDS so the light can be diffused so that you don't see the "hot spots" of each individual pixel.
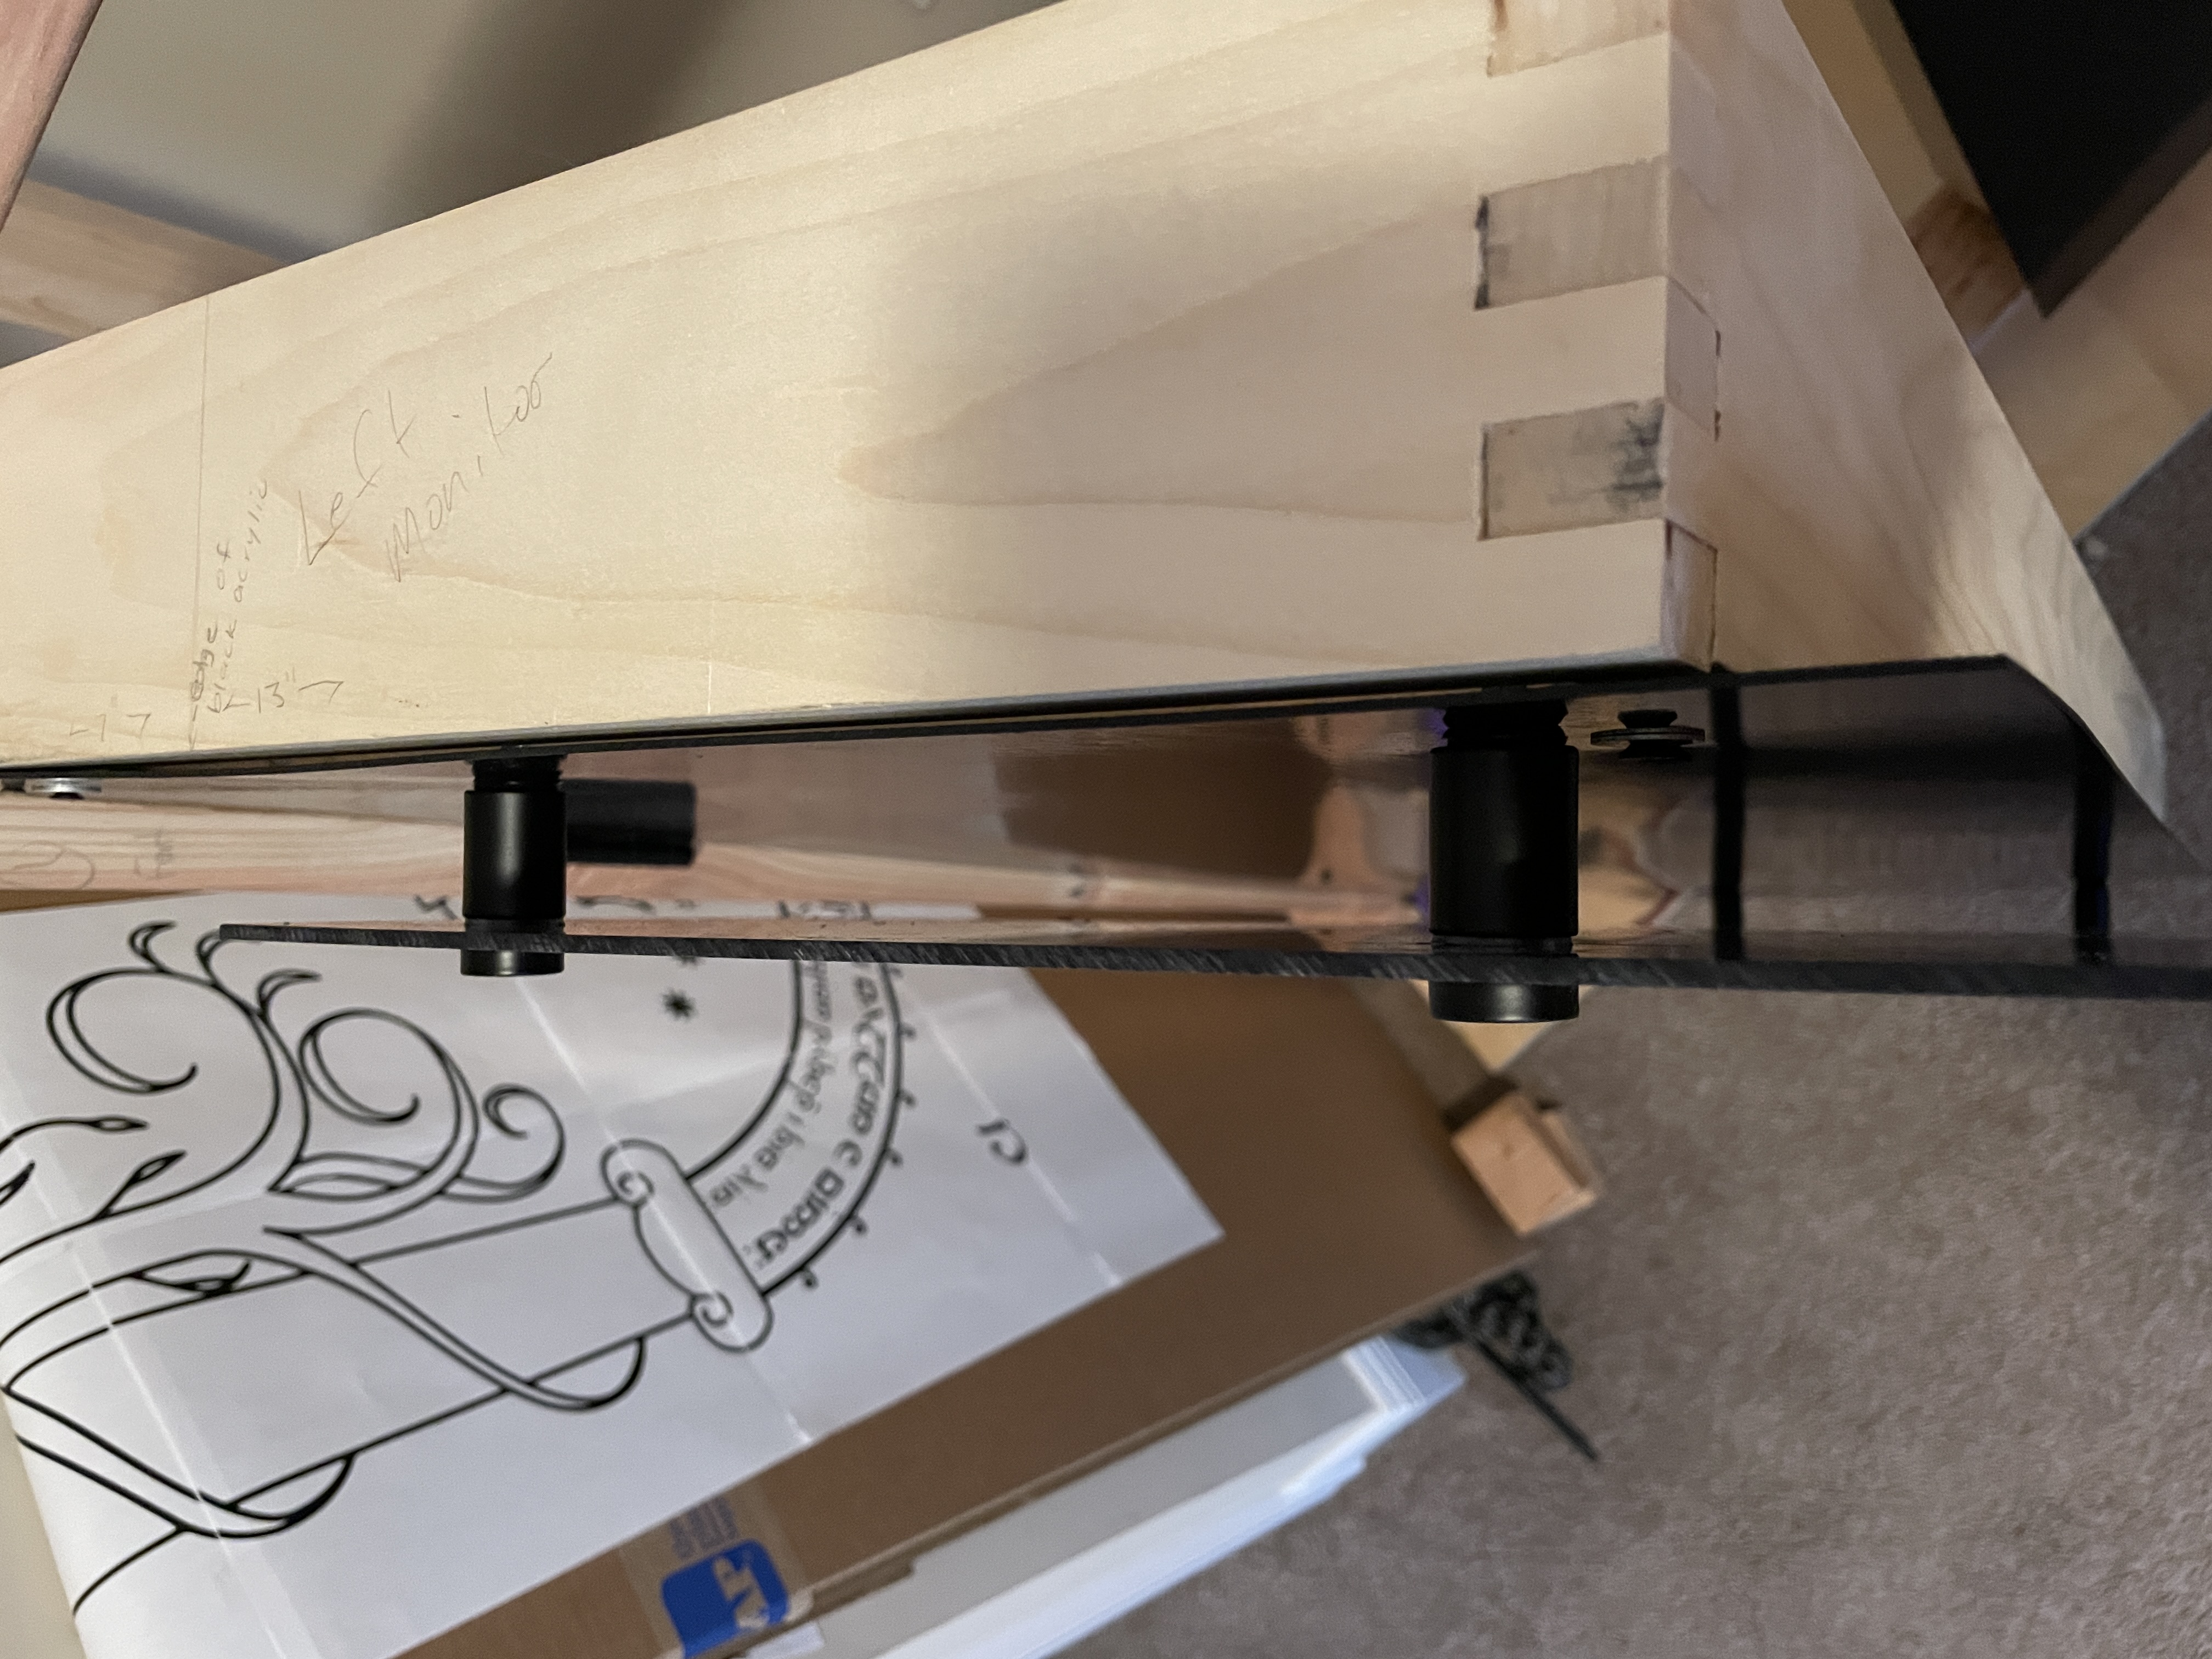
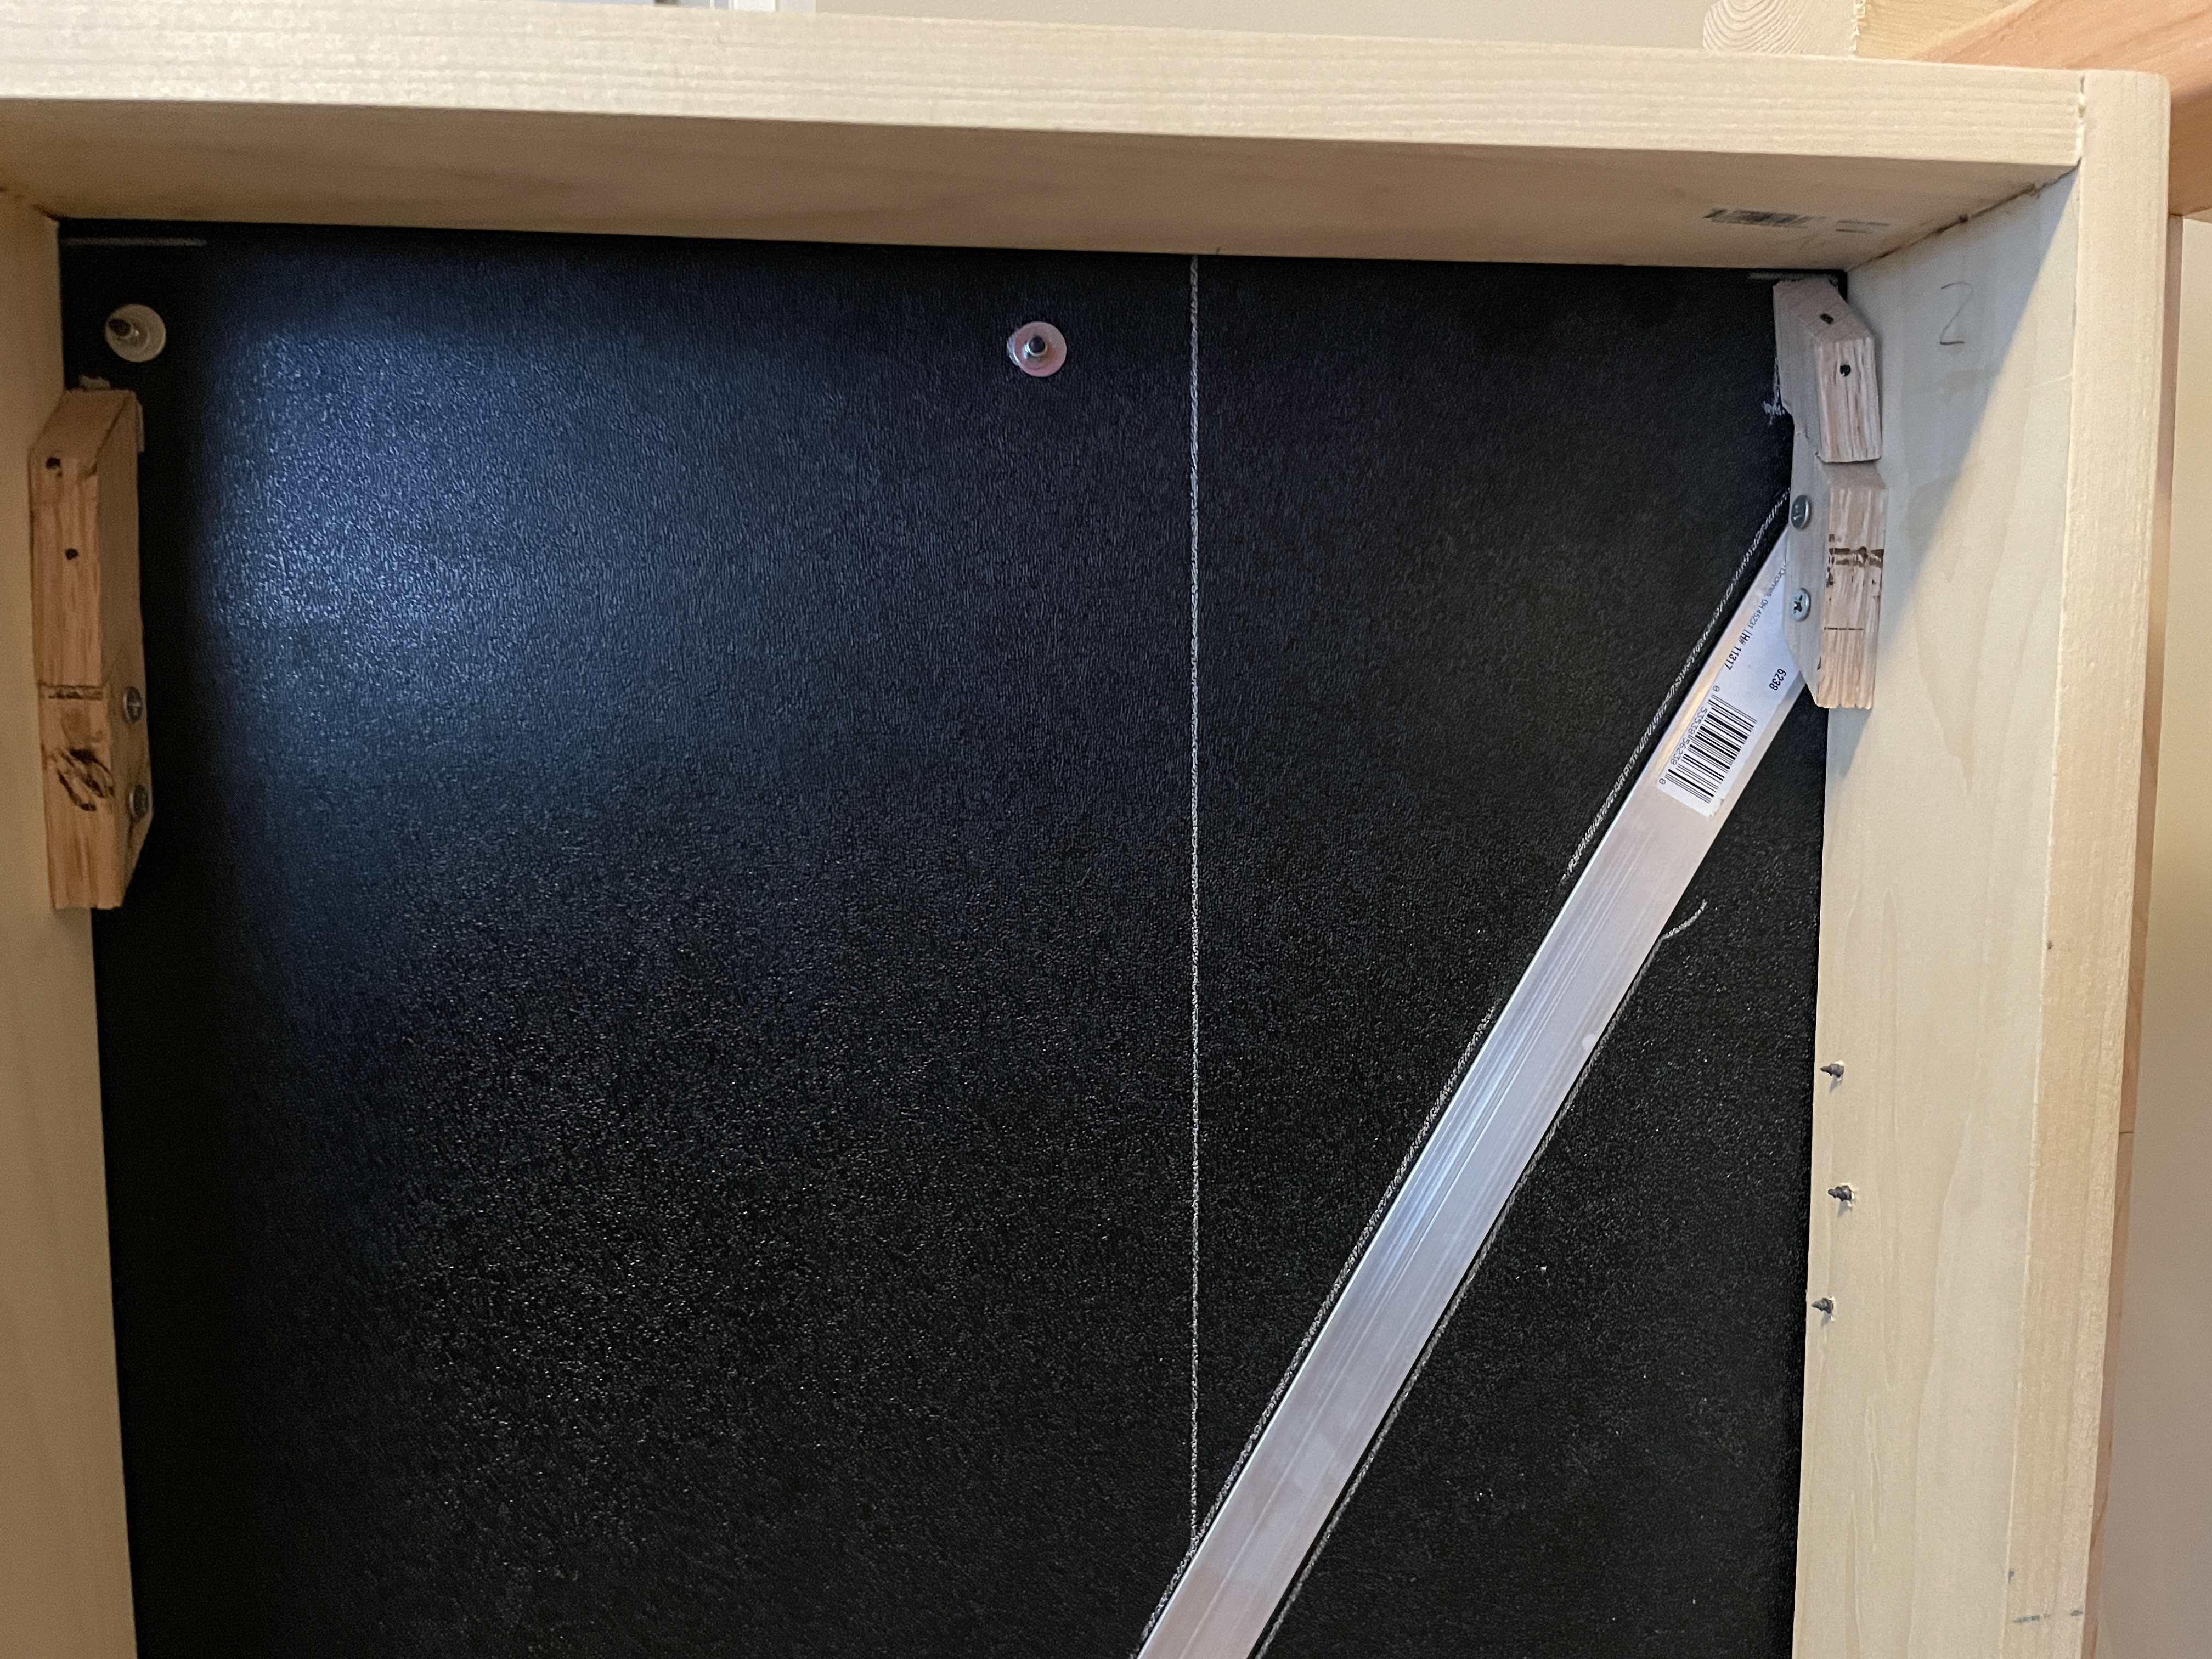
If there is a problem with the doors and the motors will not open, I may need to be able to gain access to the inside. I've designed the front panels to be detachable from the outside. The panels will hang from French cleats on the frame of the doors.


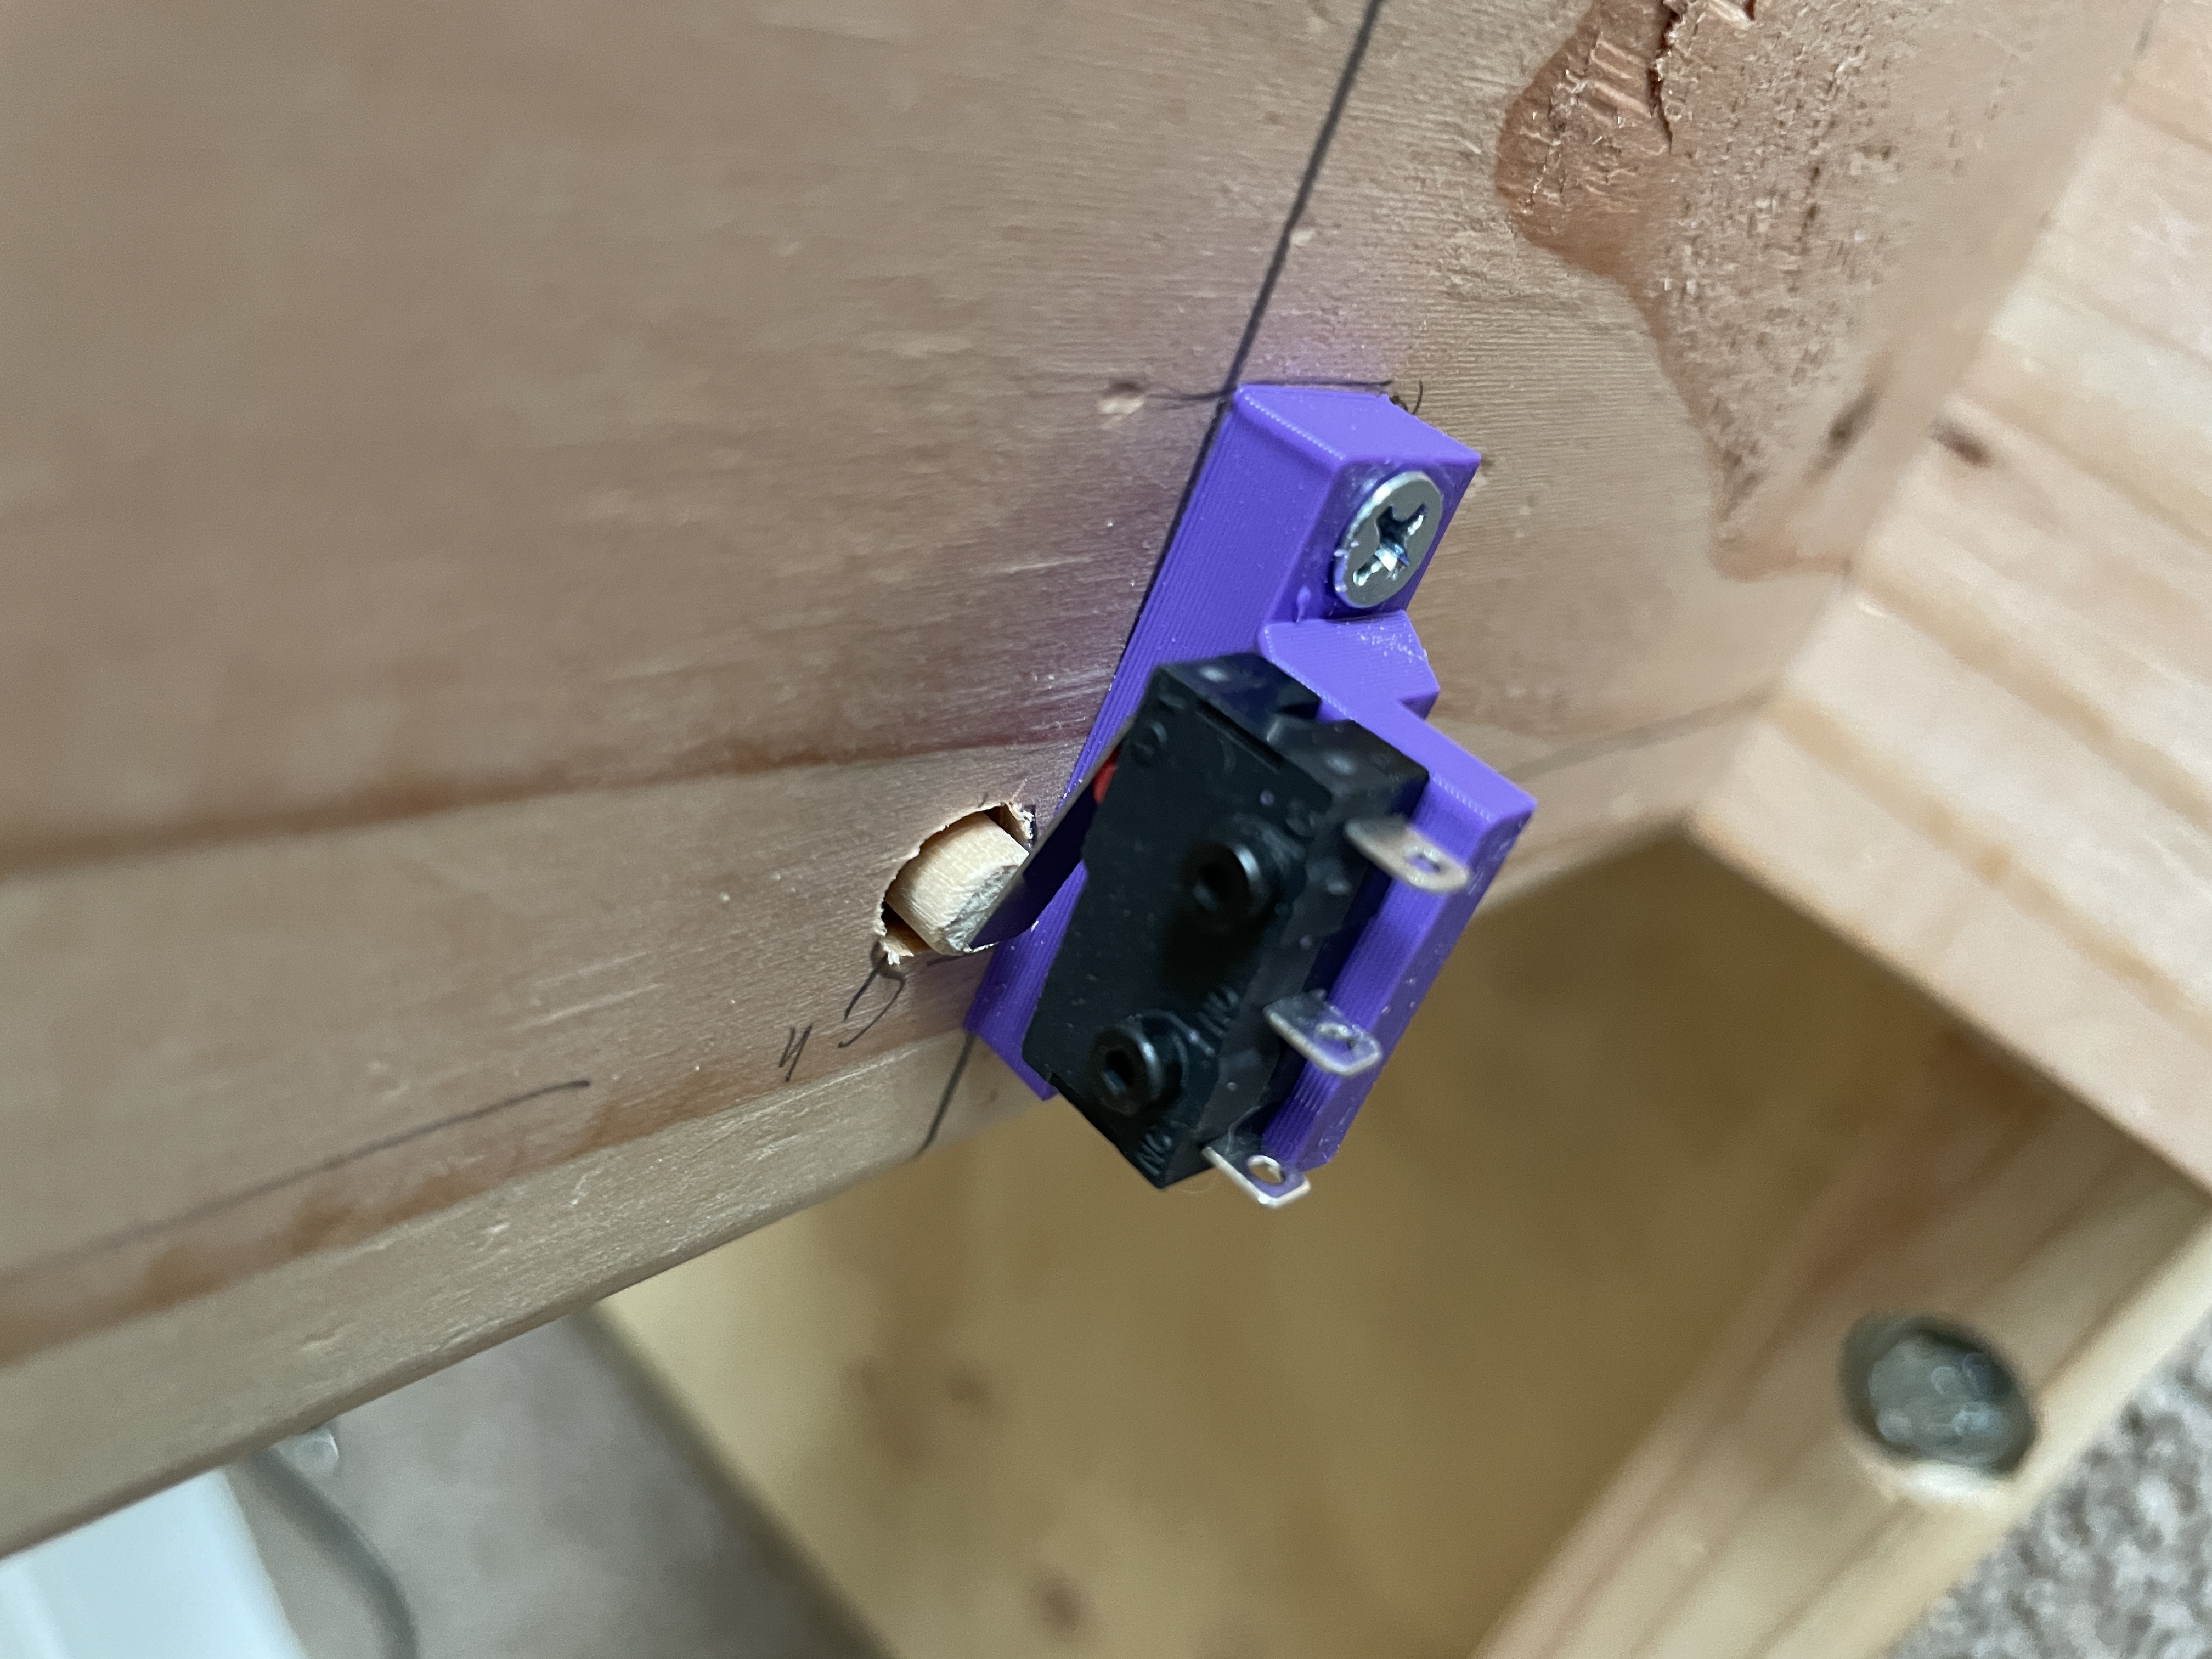
FOr stepper motors, I need to know where "0" or "Closed" is. I built a limit switch mechanism that will trigger when the doors are fully closed. This is now 0 degrees. Then it will know how far to open the doors in the software. Currently I plan that to be about 120 degrees for fully open.
